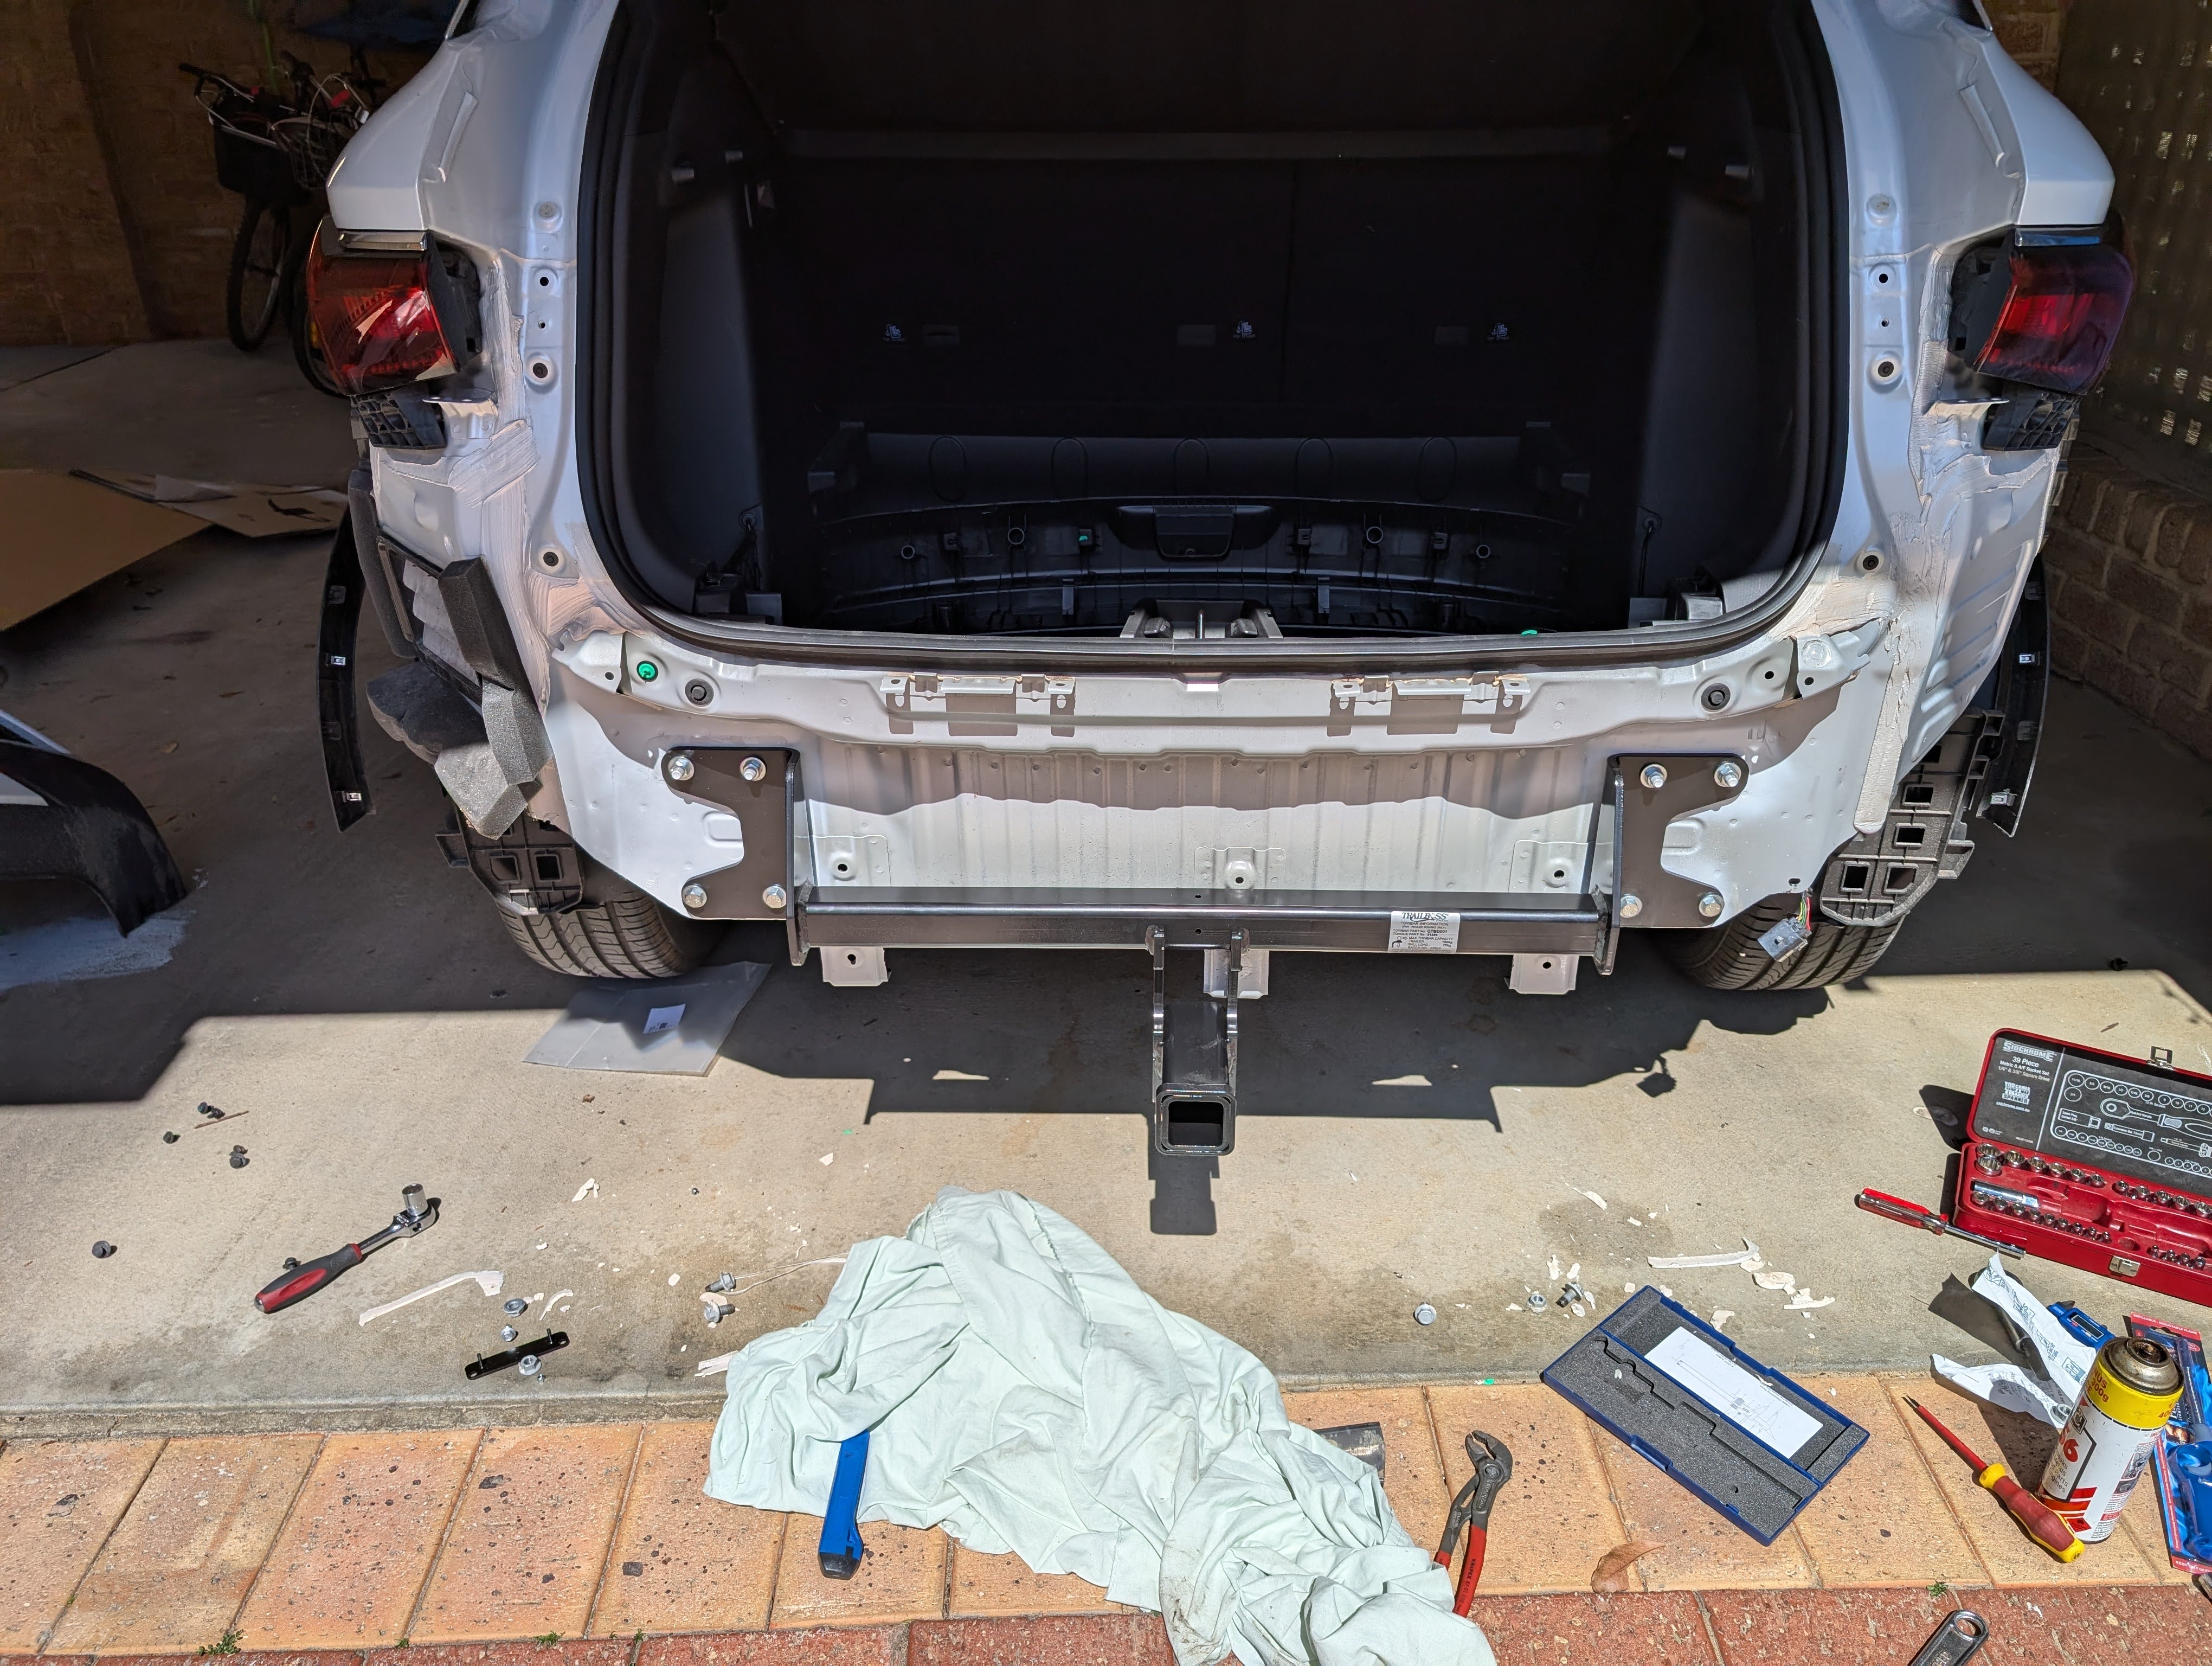
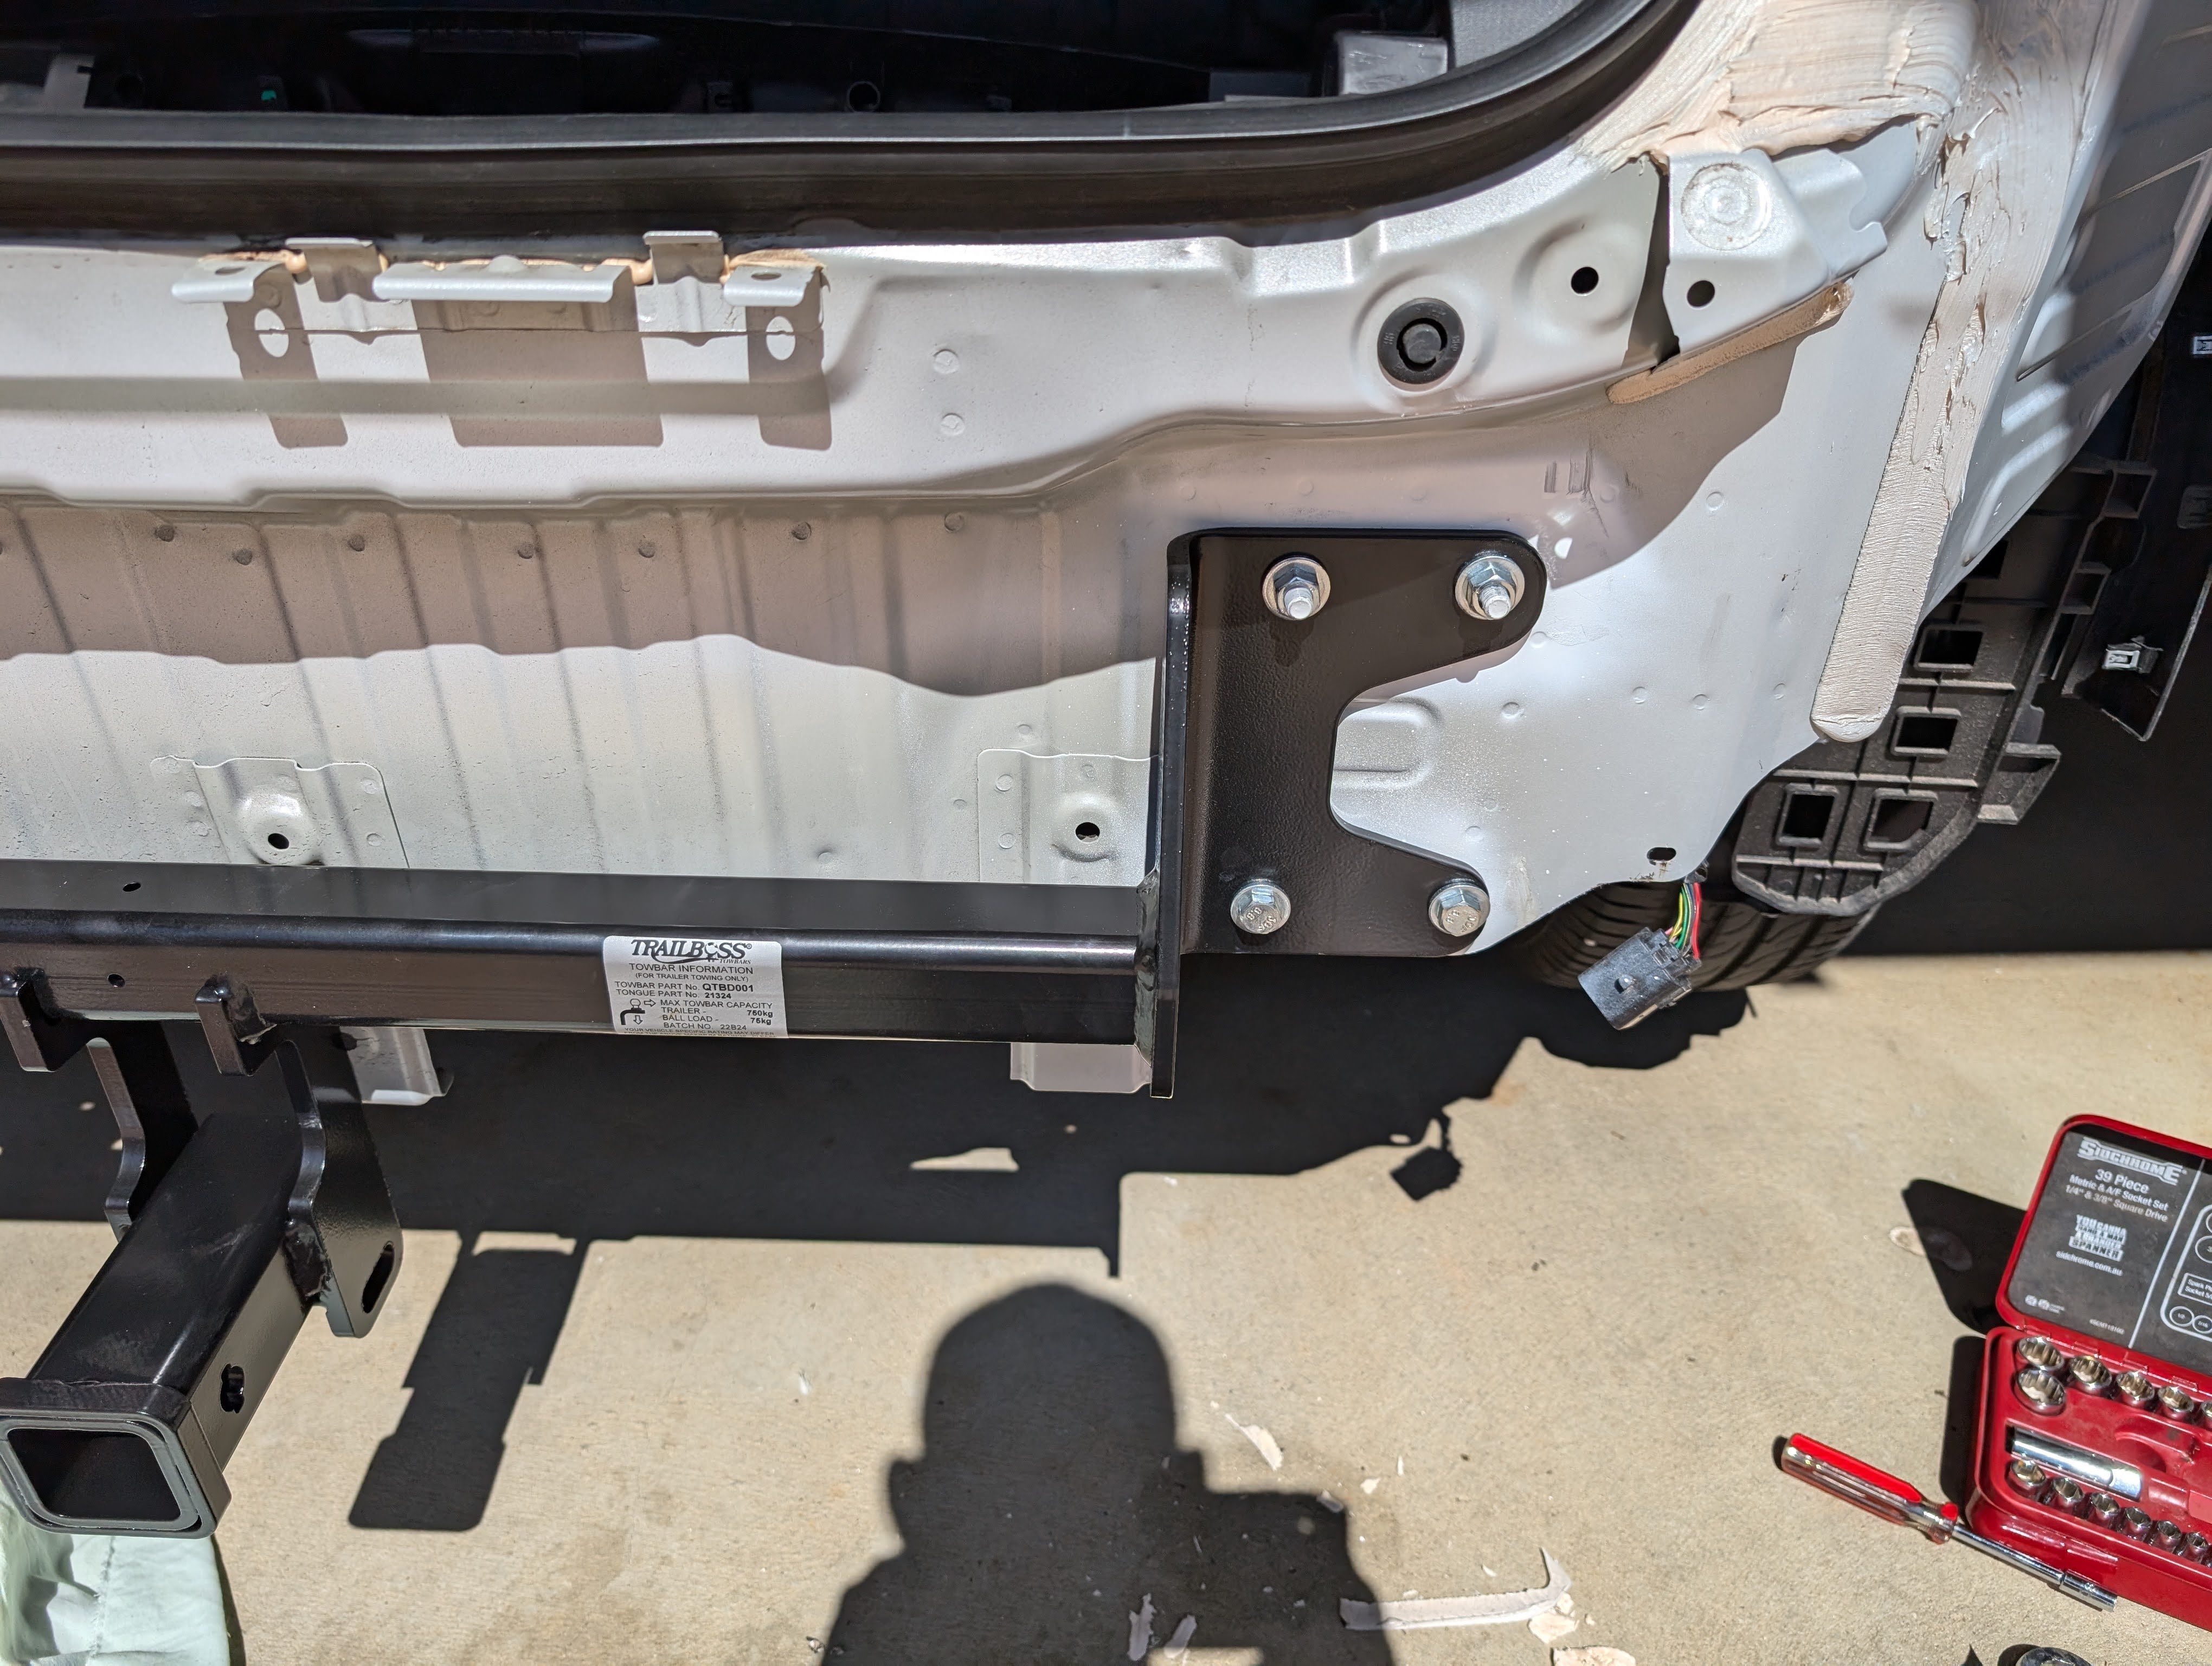
As an avid DIY enthusiast, I recently took on the challenge of installing a Trailboss Towbar (model QTBD001L) on my BYD ATTO 3 CL4. While the end result was a successful installation, the process was not without its challenges. In this blog post, I’ll share my experience and highlight the issues I encountered along the way.
First and foremost, the installation instructions provided were not as clear as they could have been. The lack of detailed photos made it difficult to visualize the step-by-step process, and I found myself wishing for more visual aids to guide me through the installation.
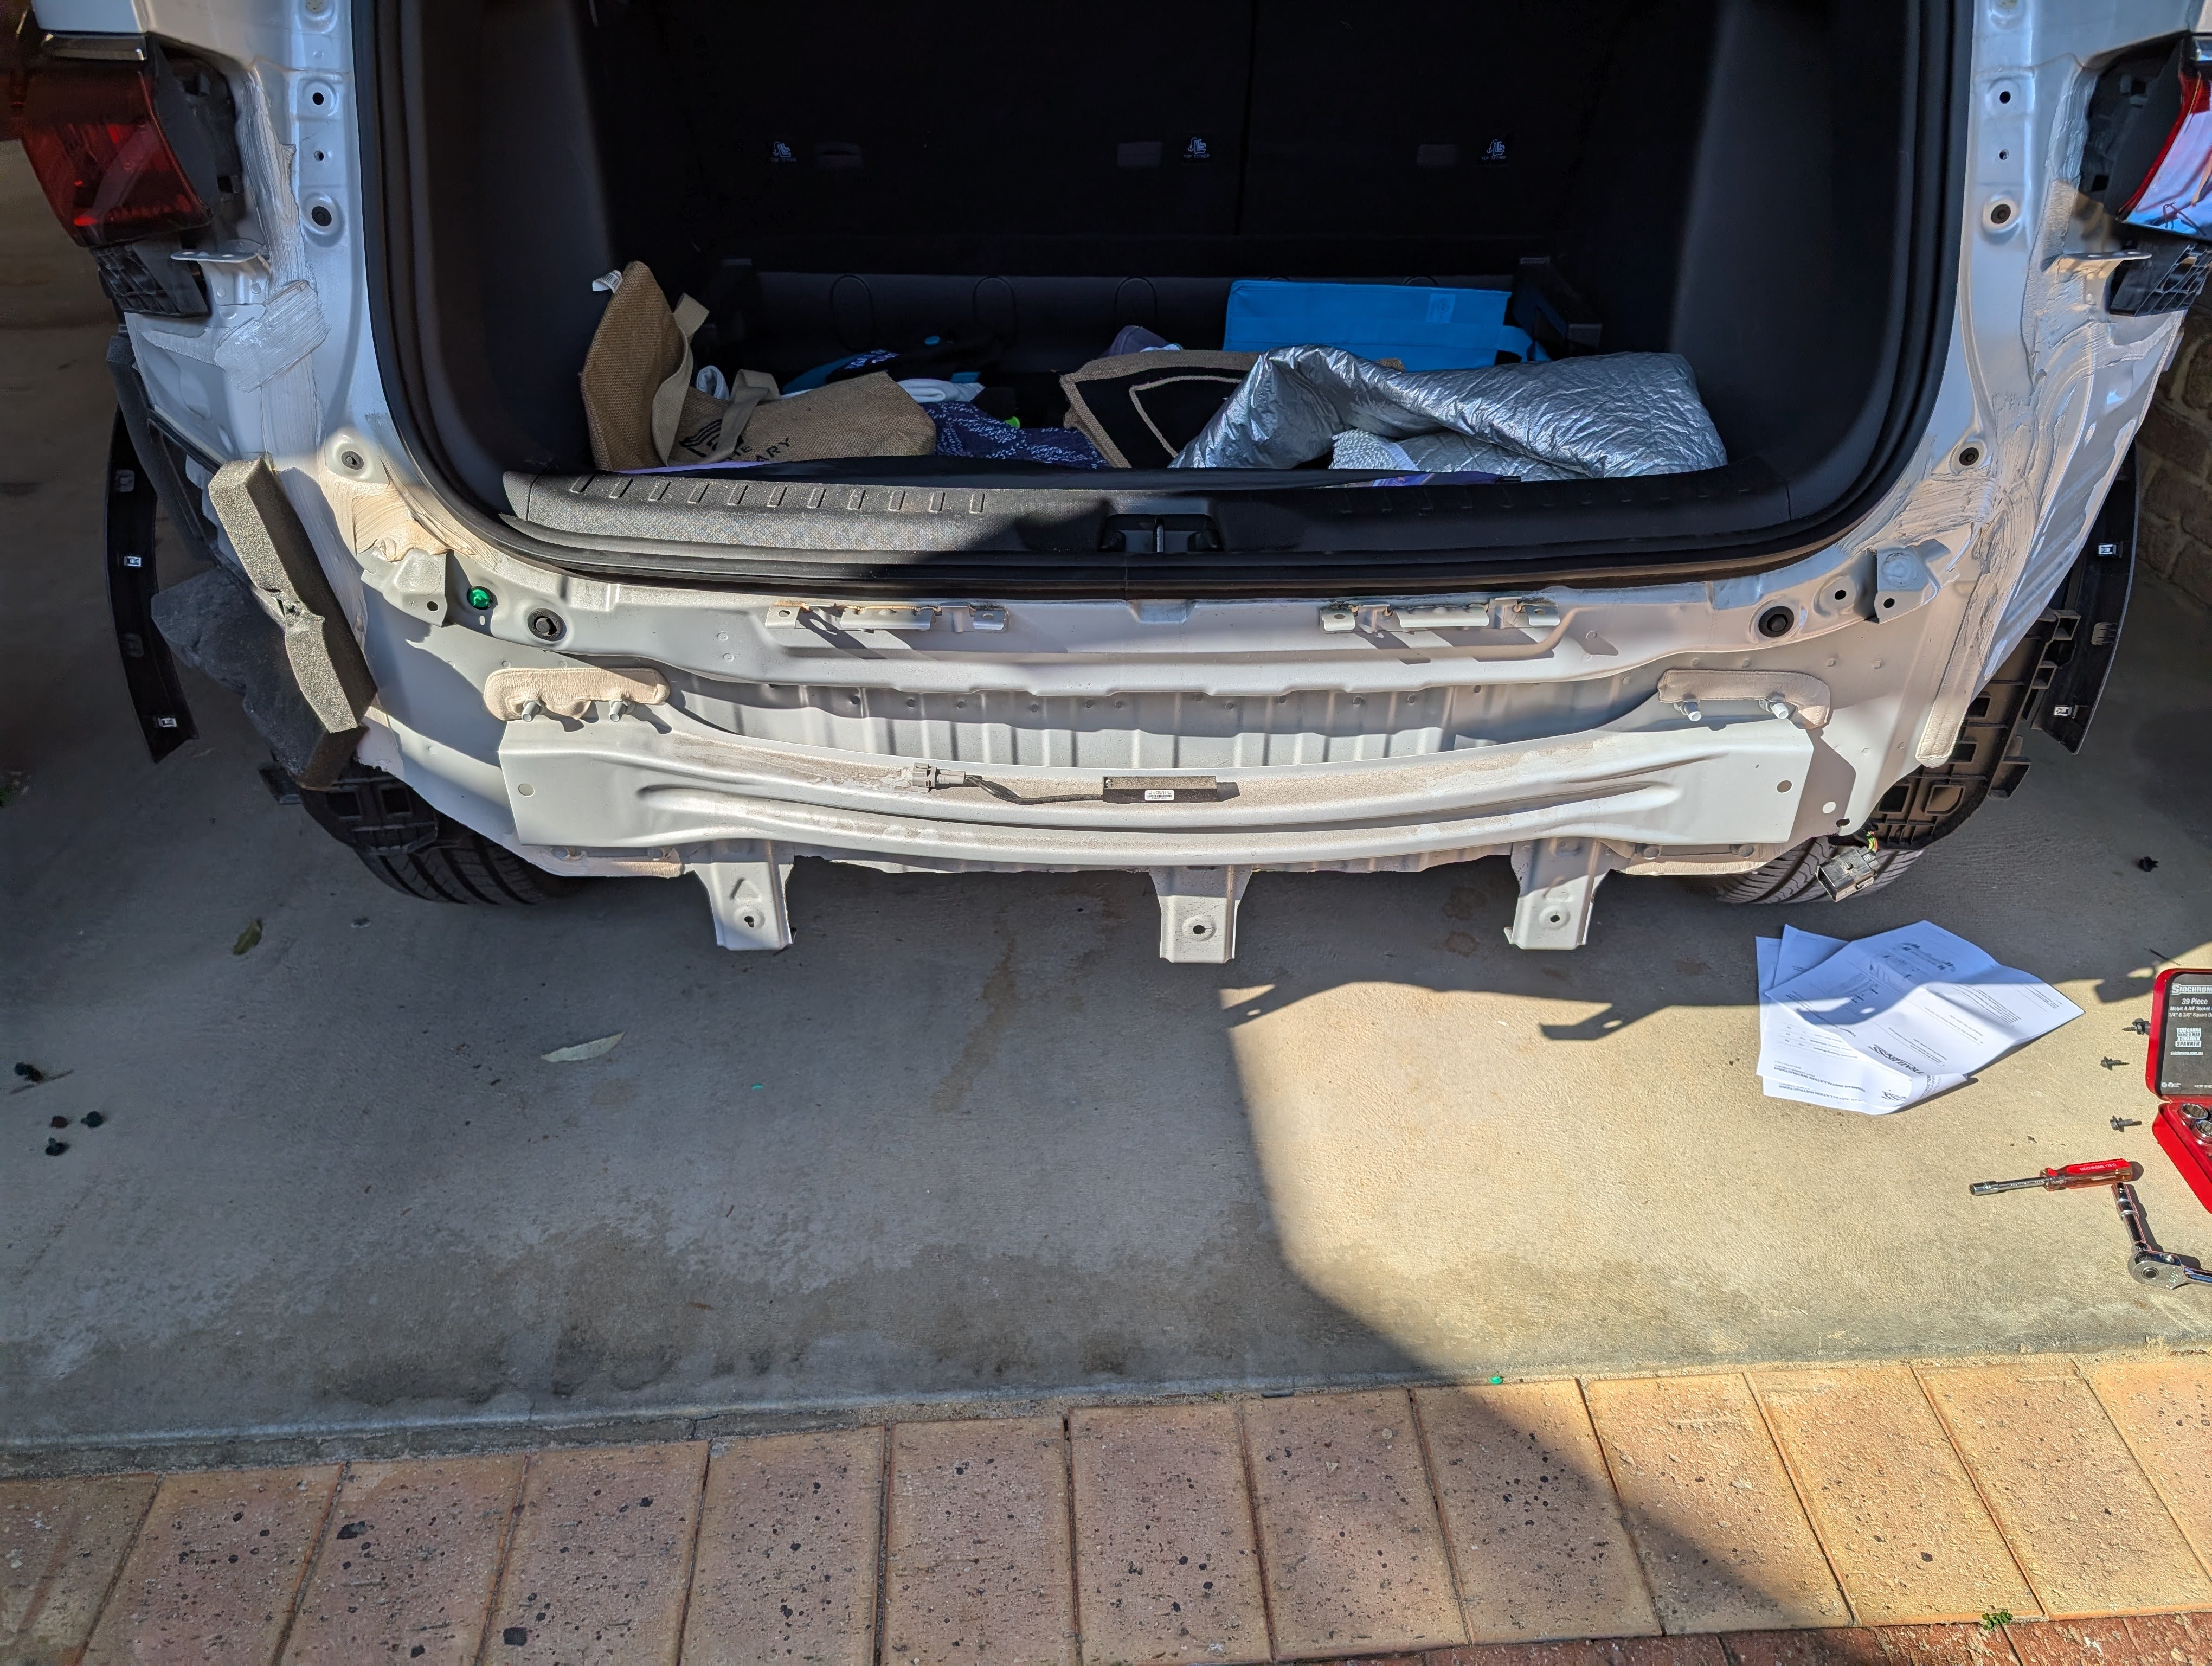
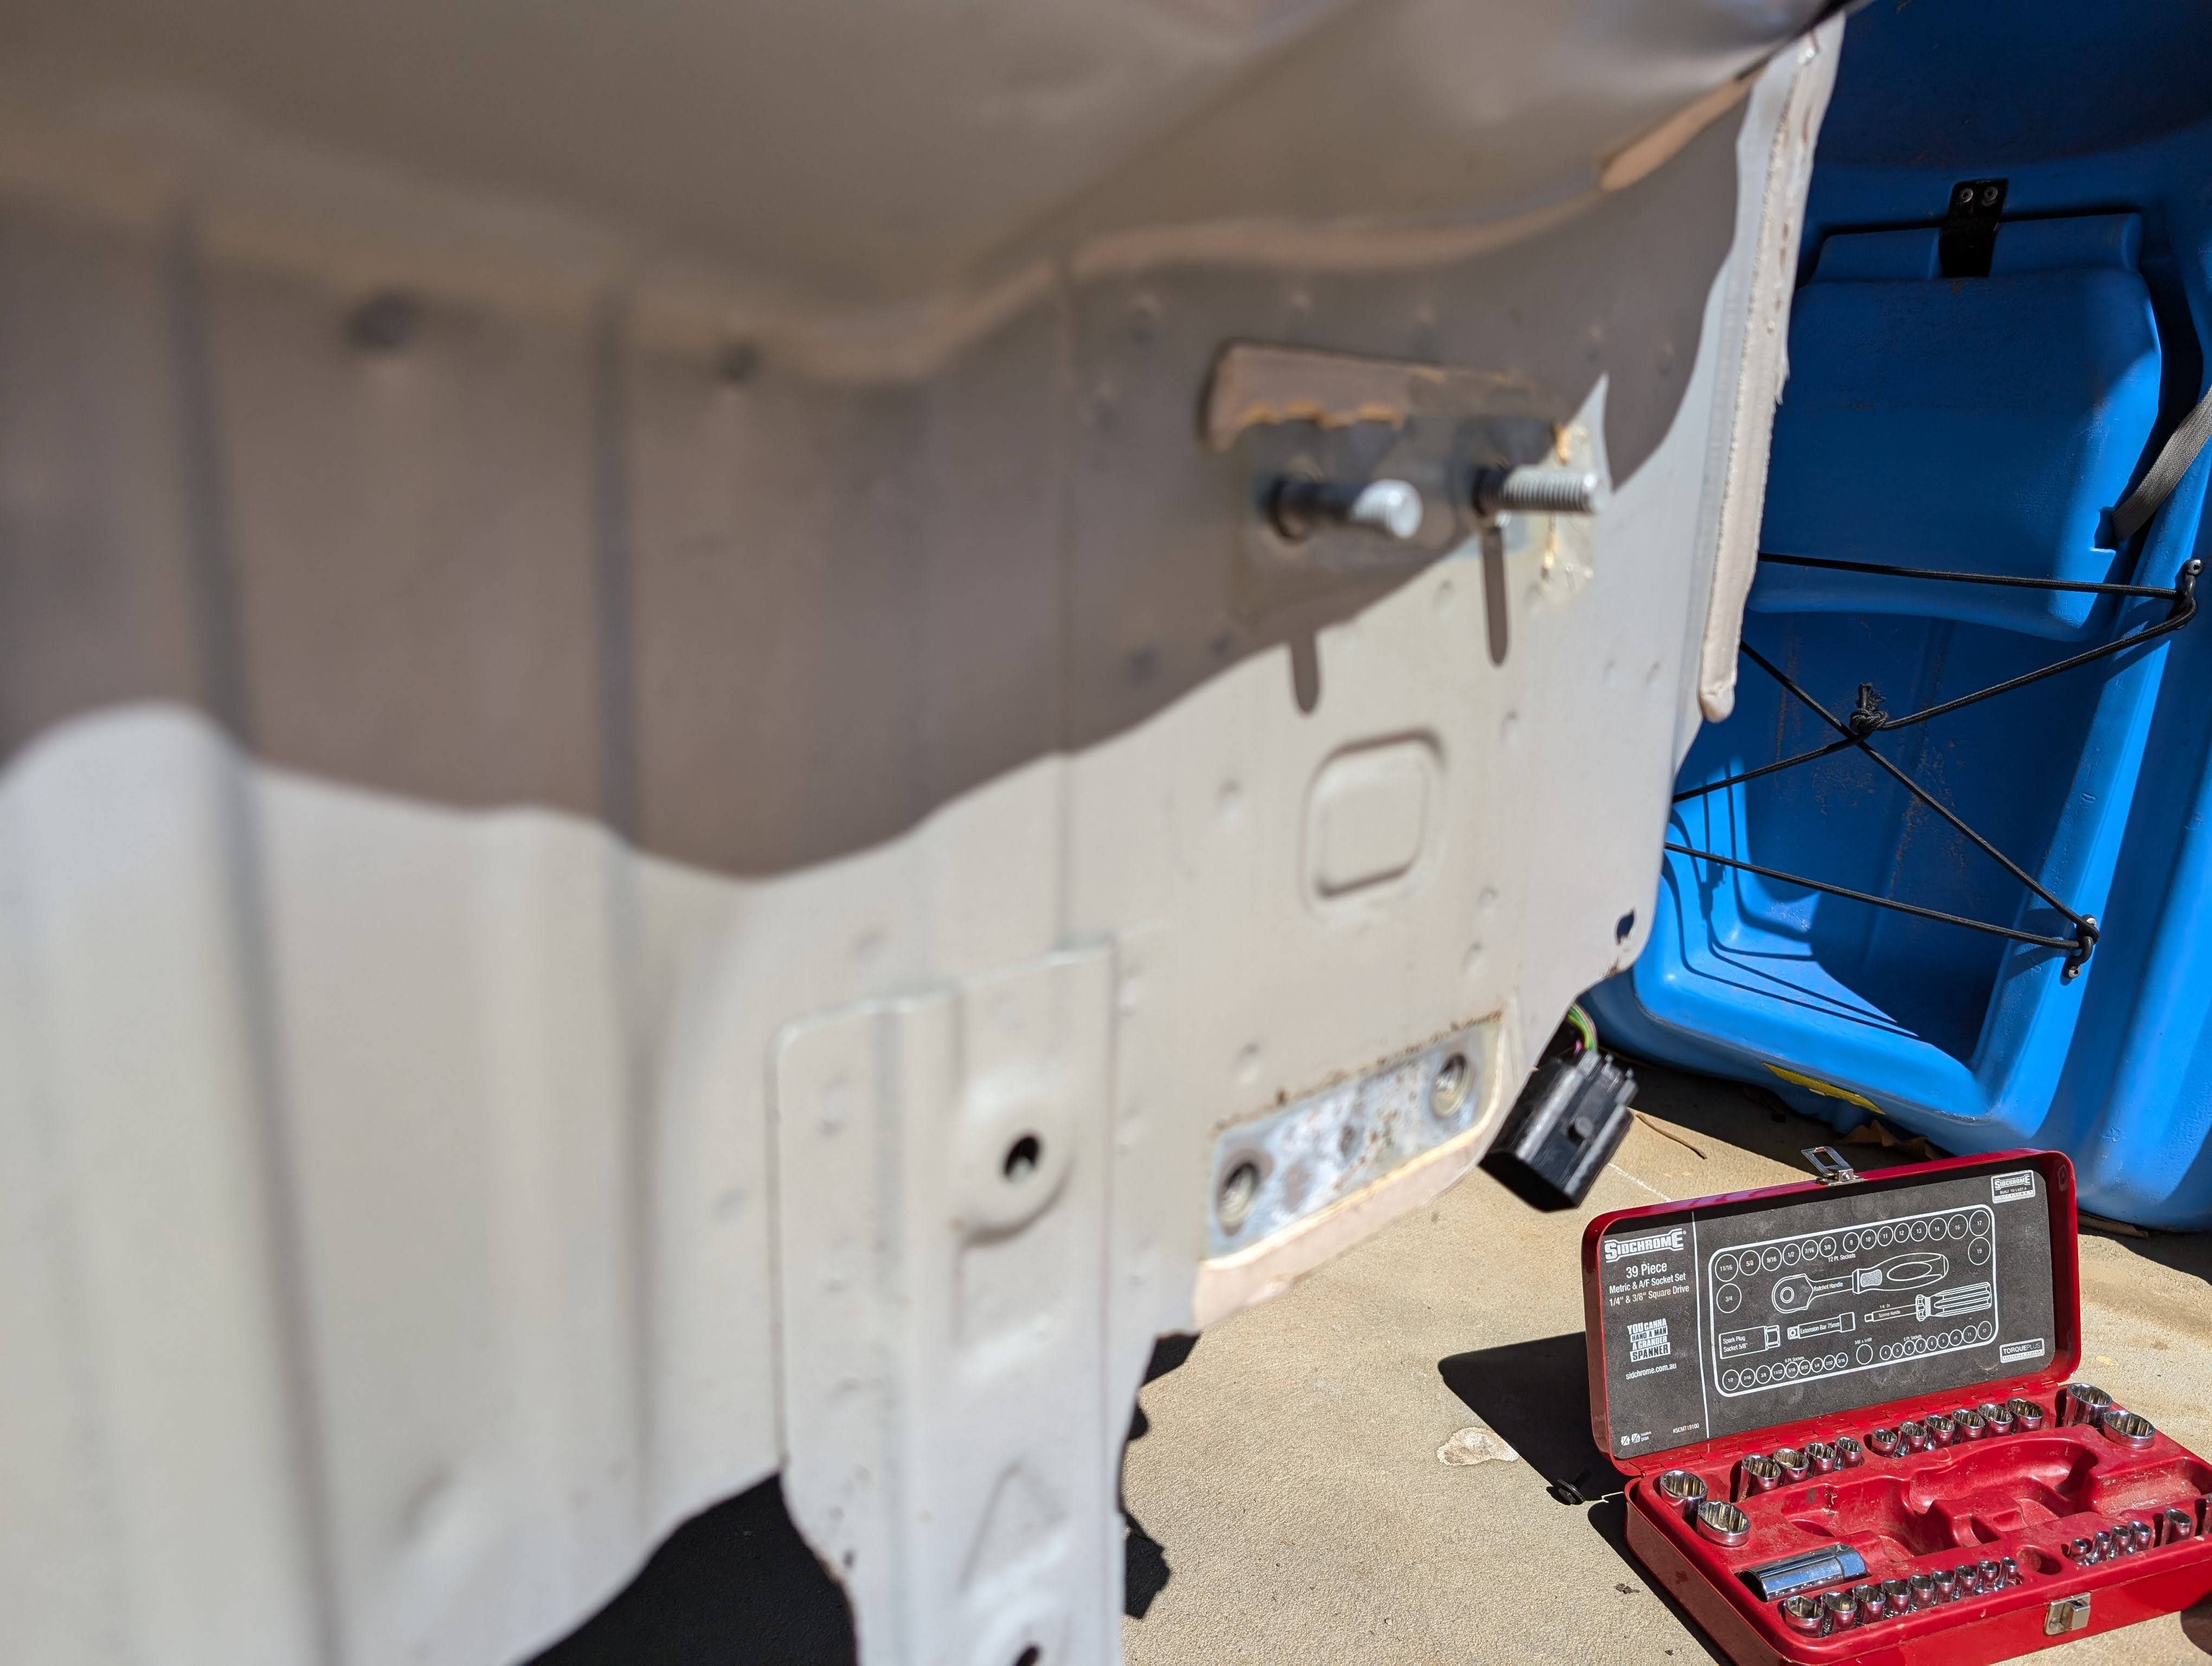
Another issue I encountered was the use of sealant on the nuts by BYD, which made the removal of the impact beam more difficult. This added an extra layer of complexity to the process and required some additional effort to overcome.
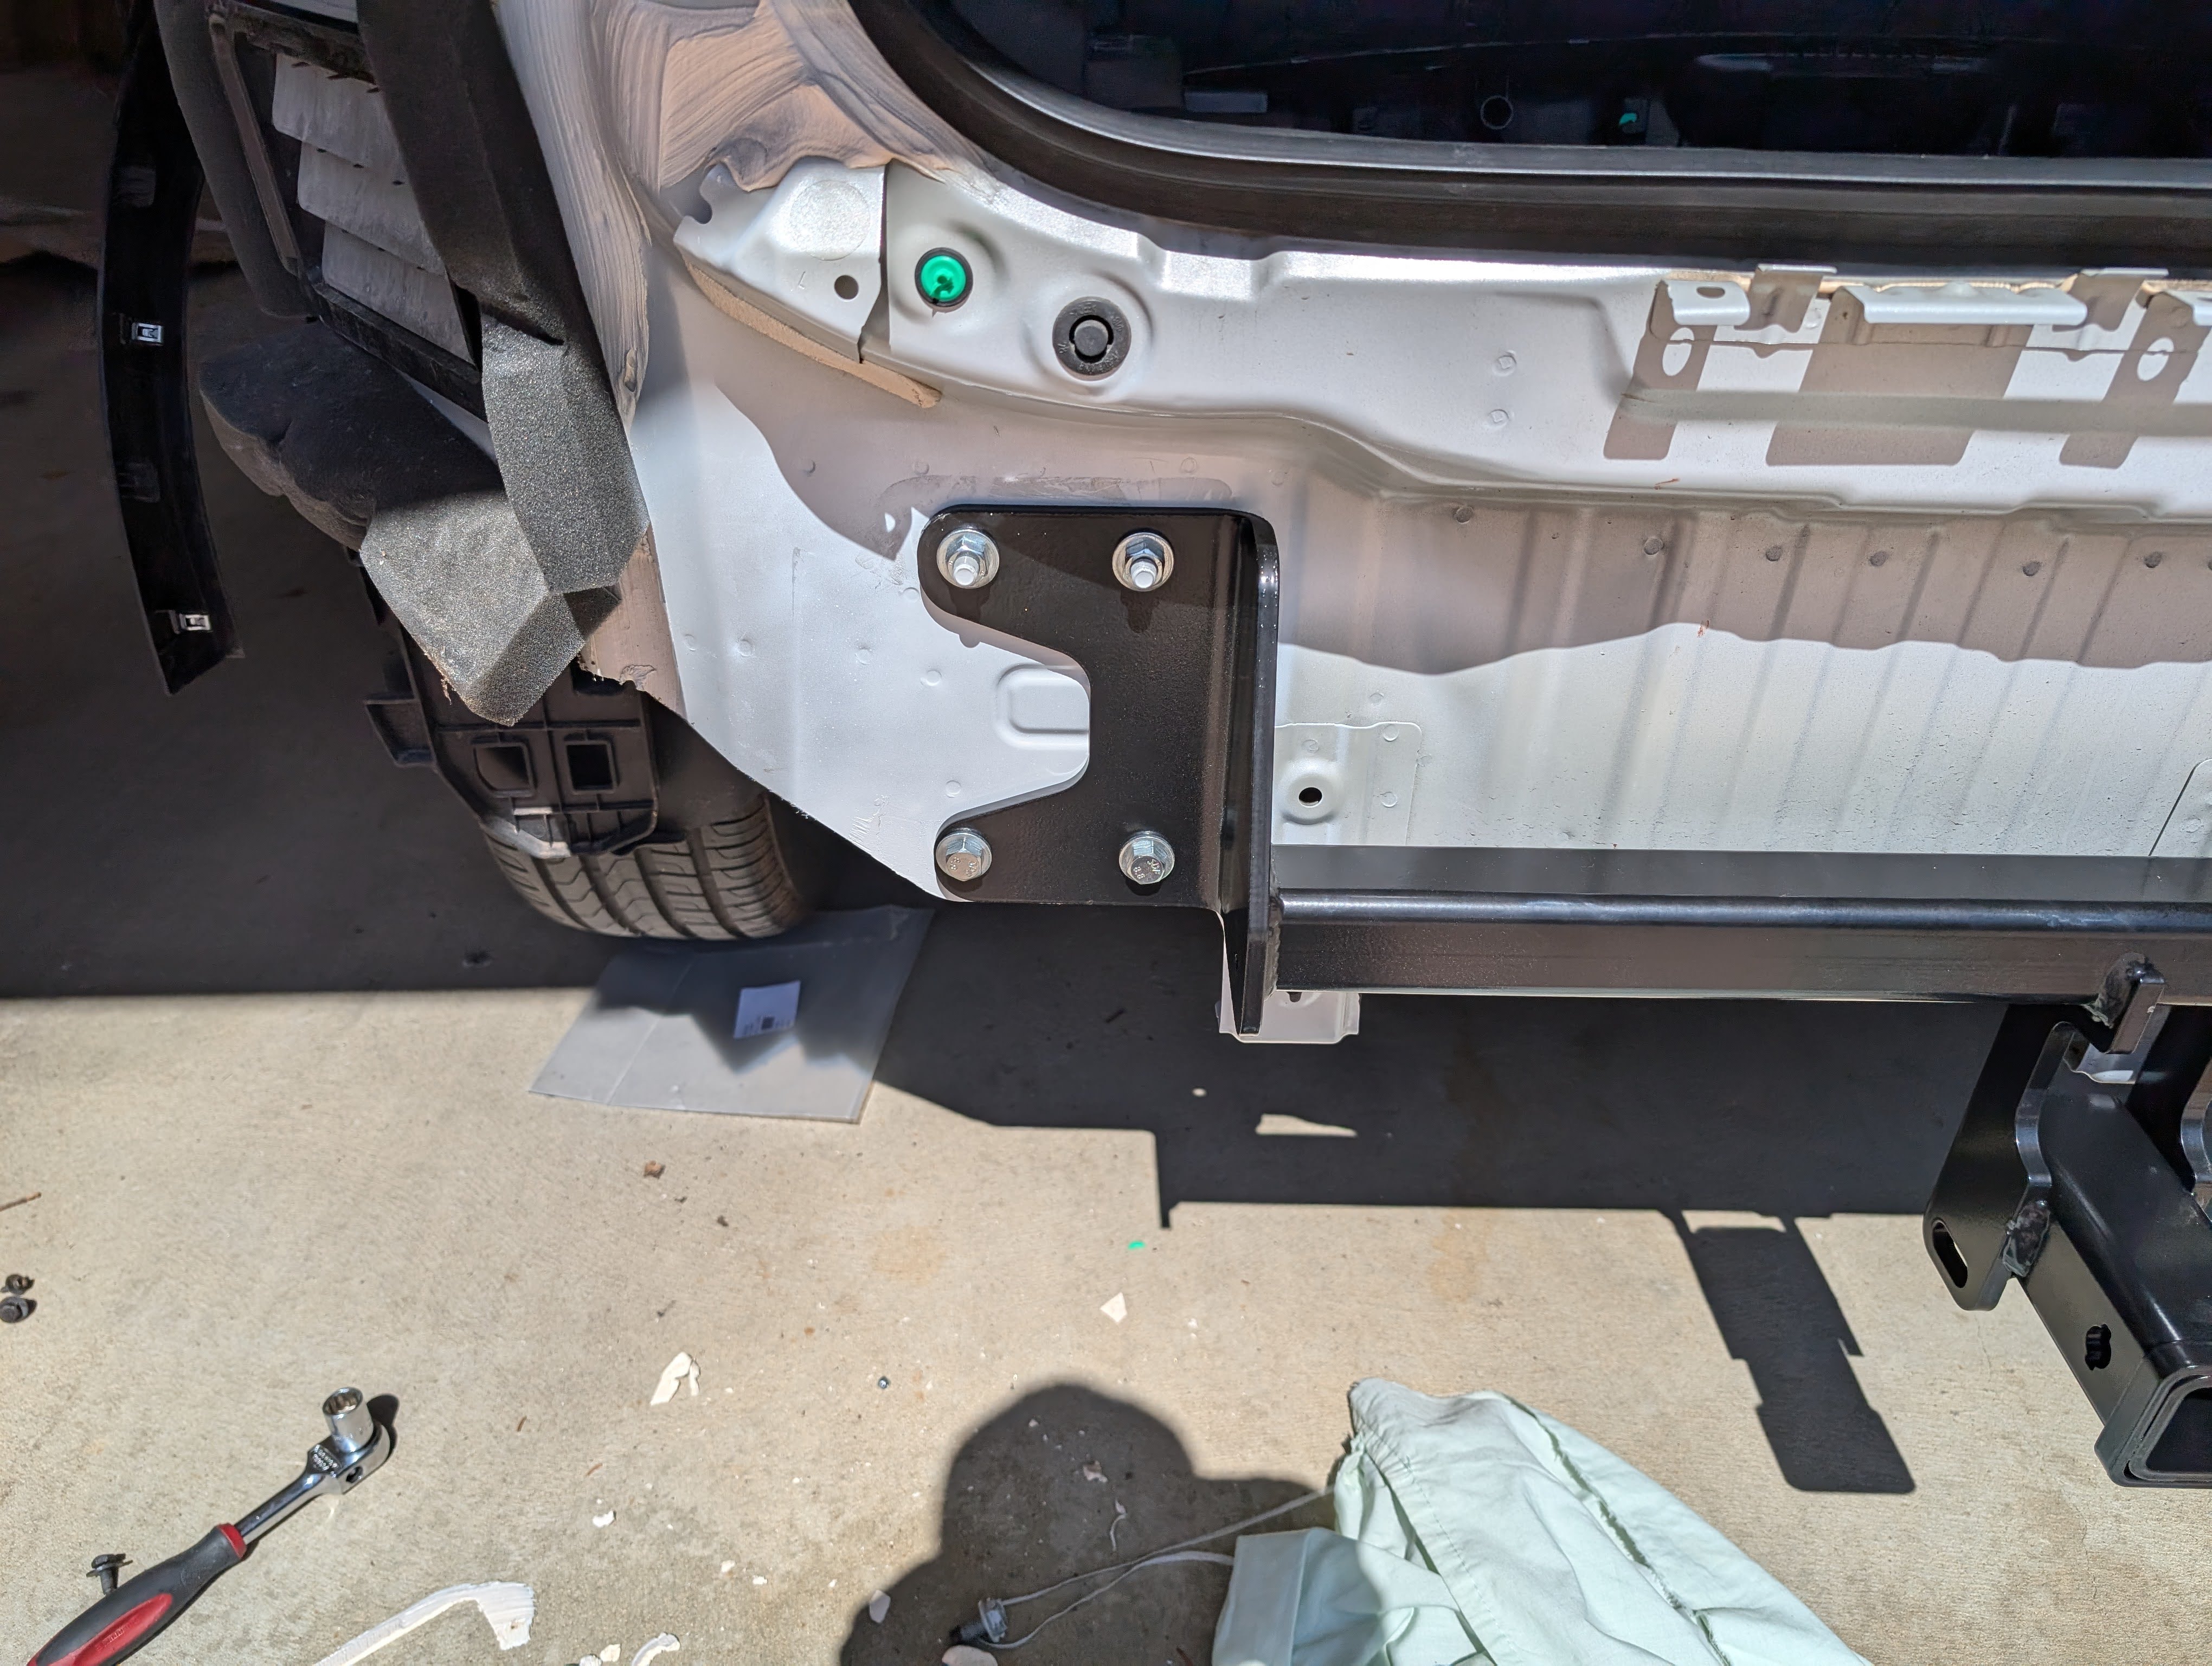
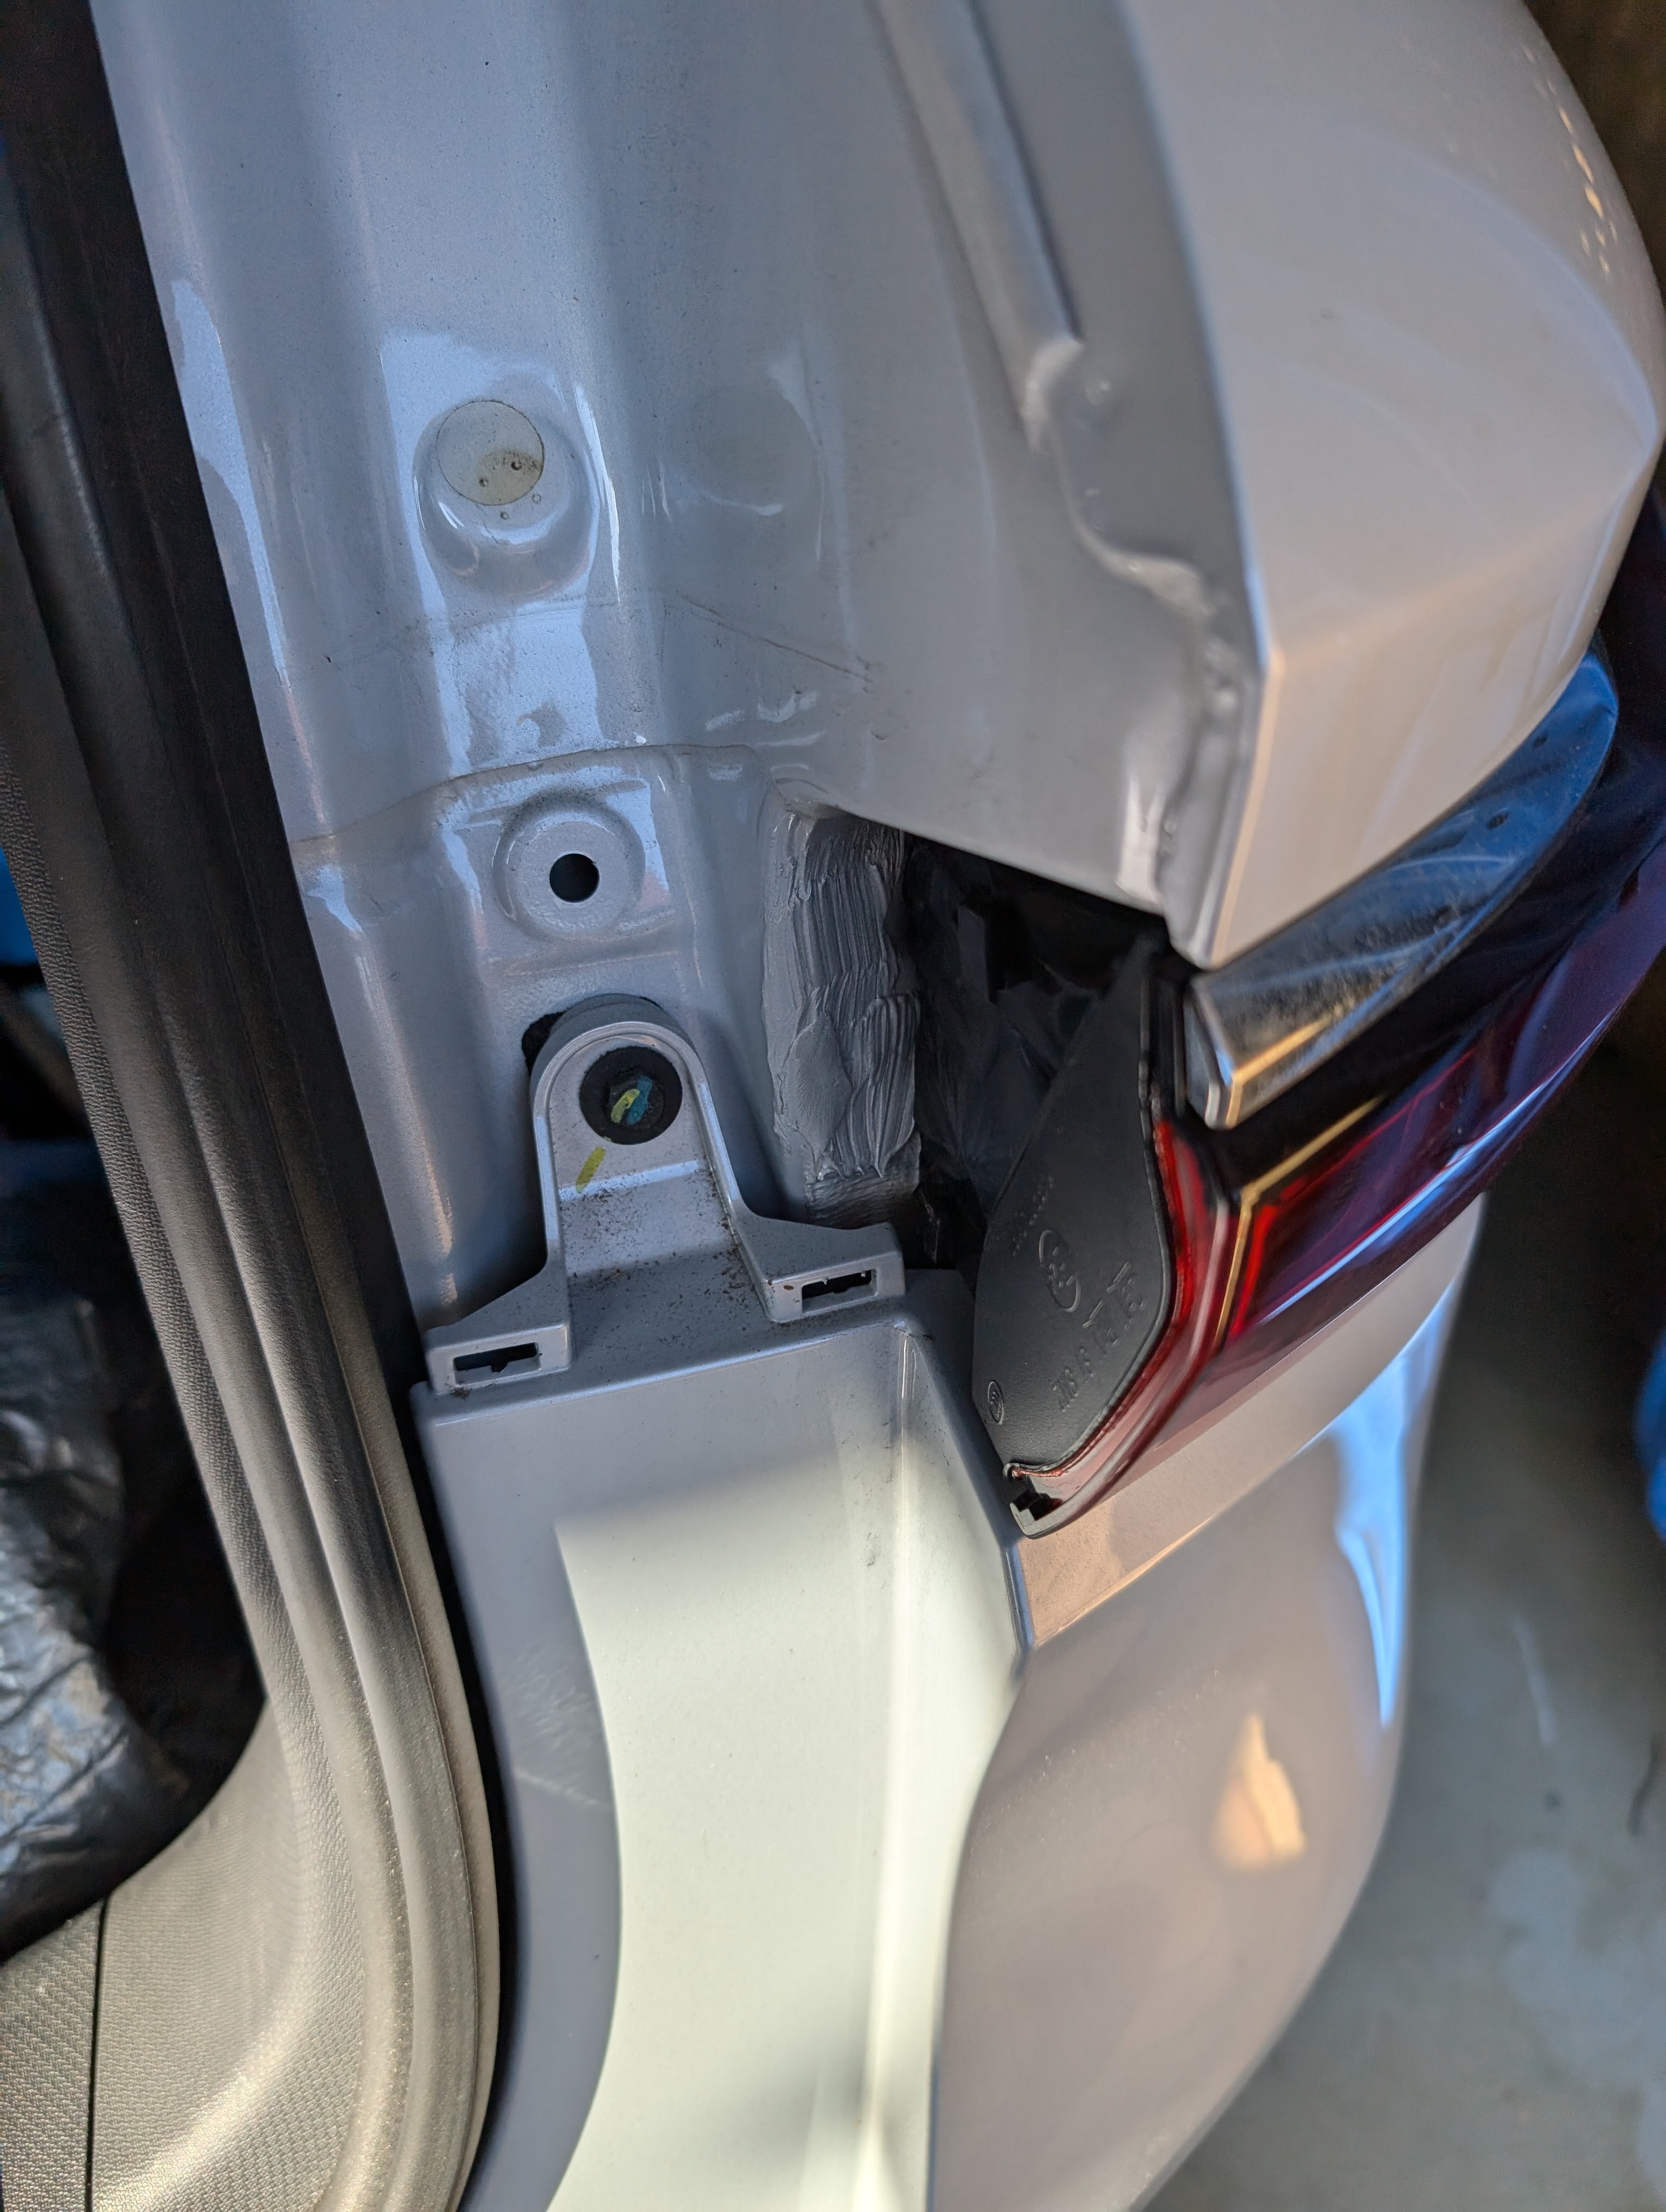
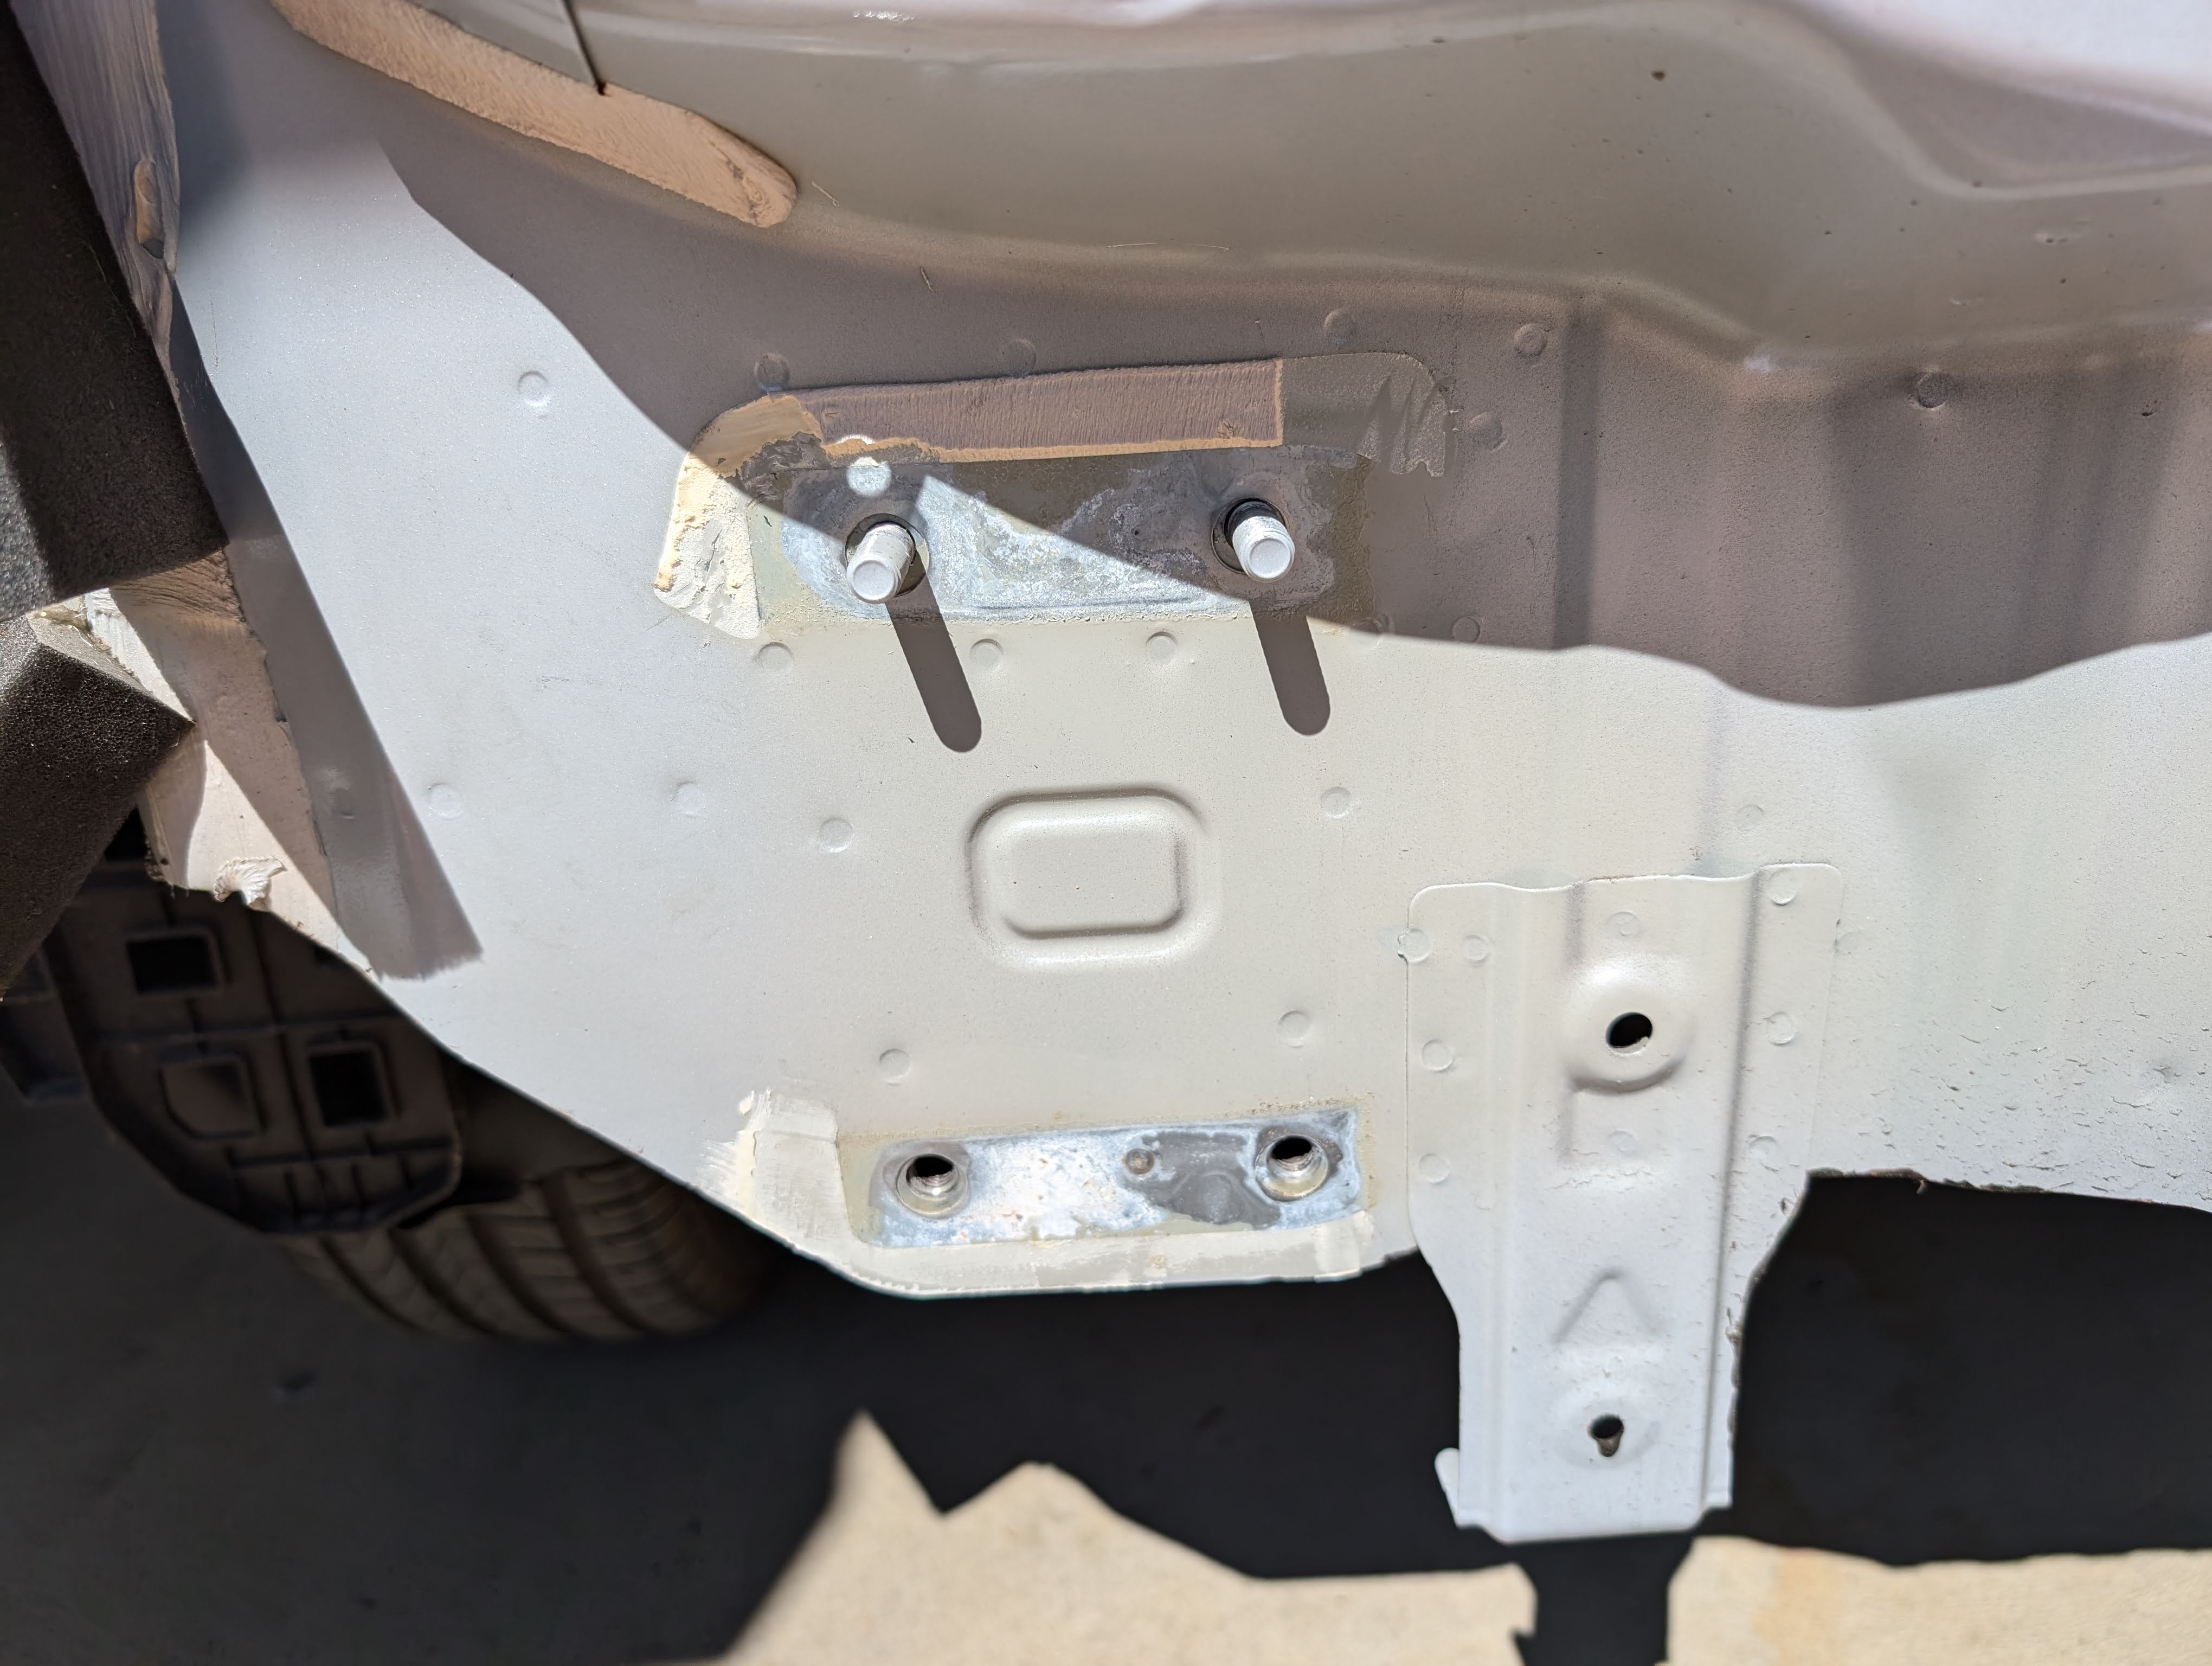
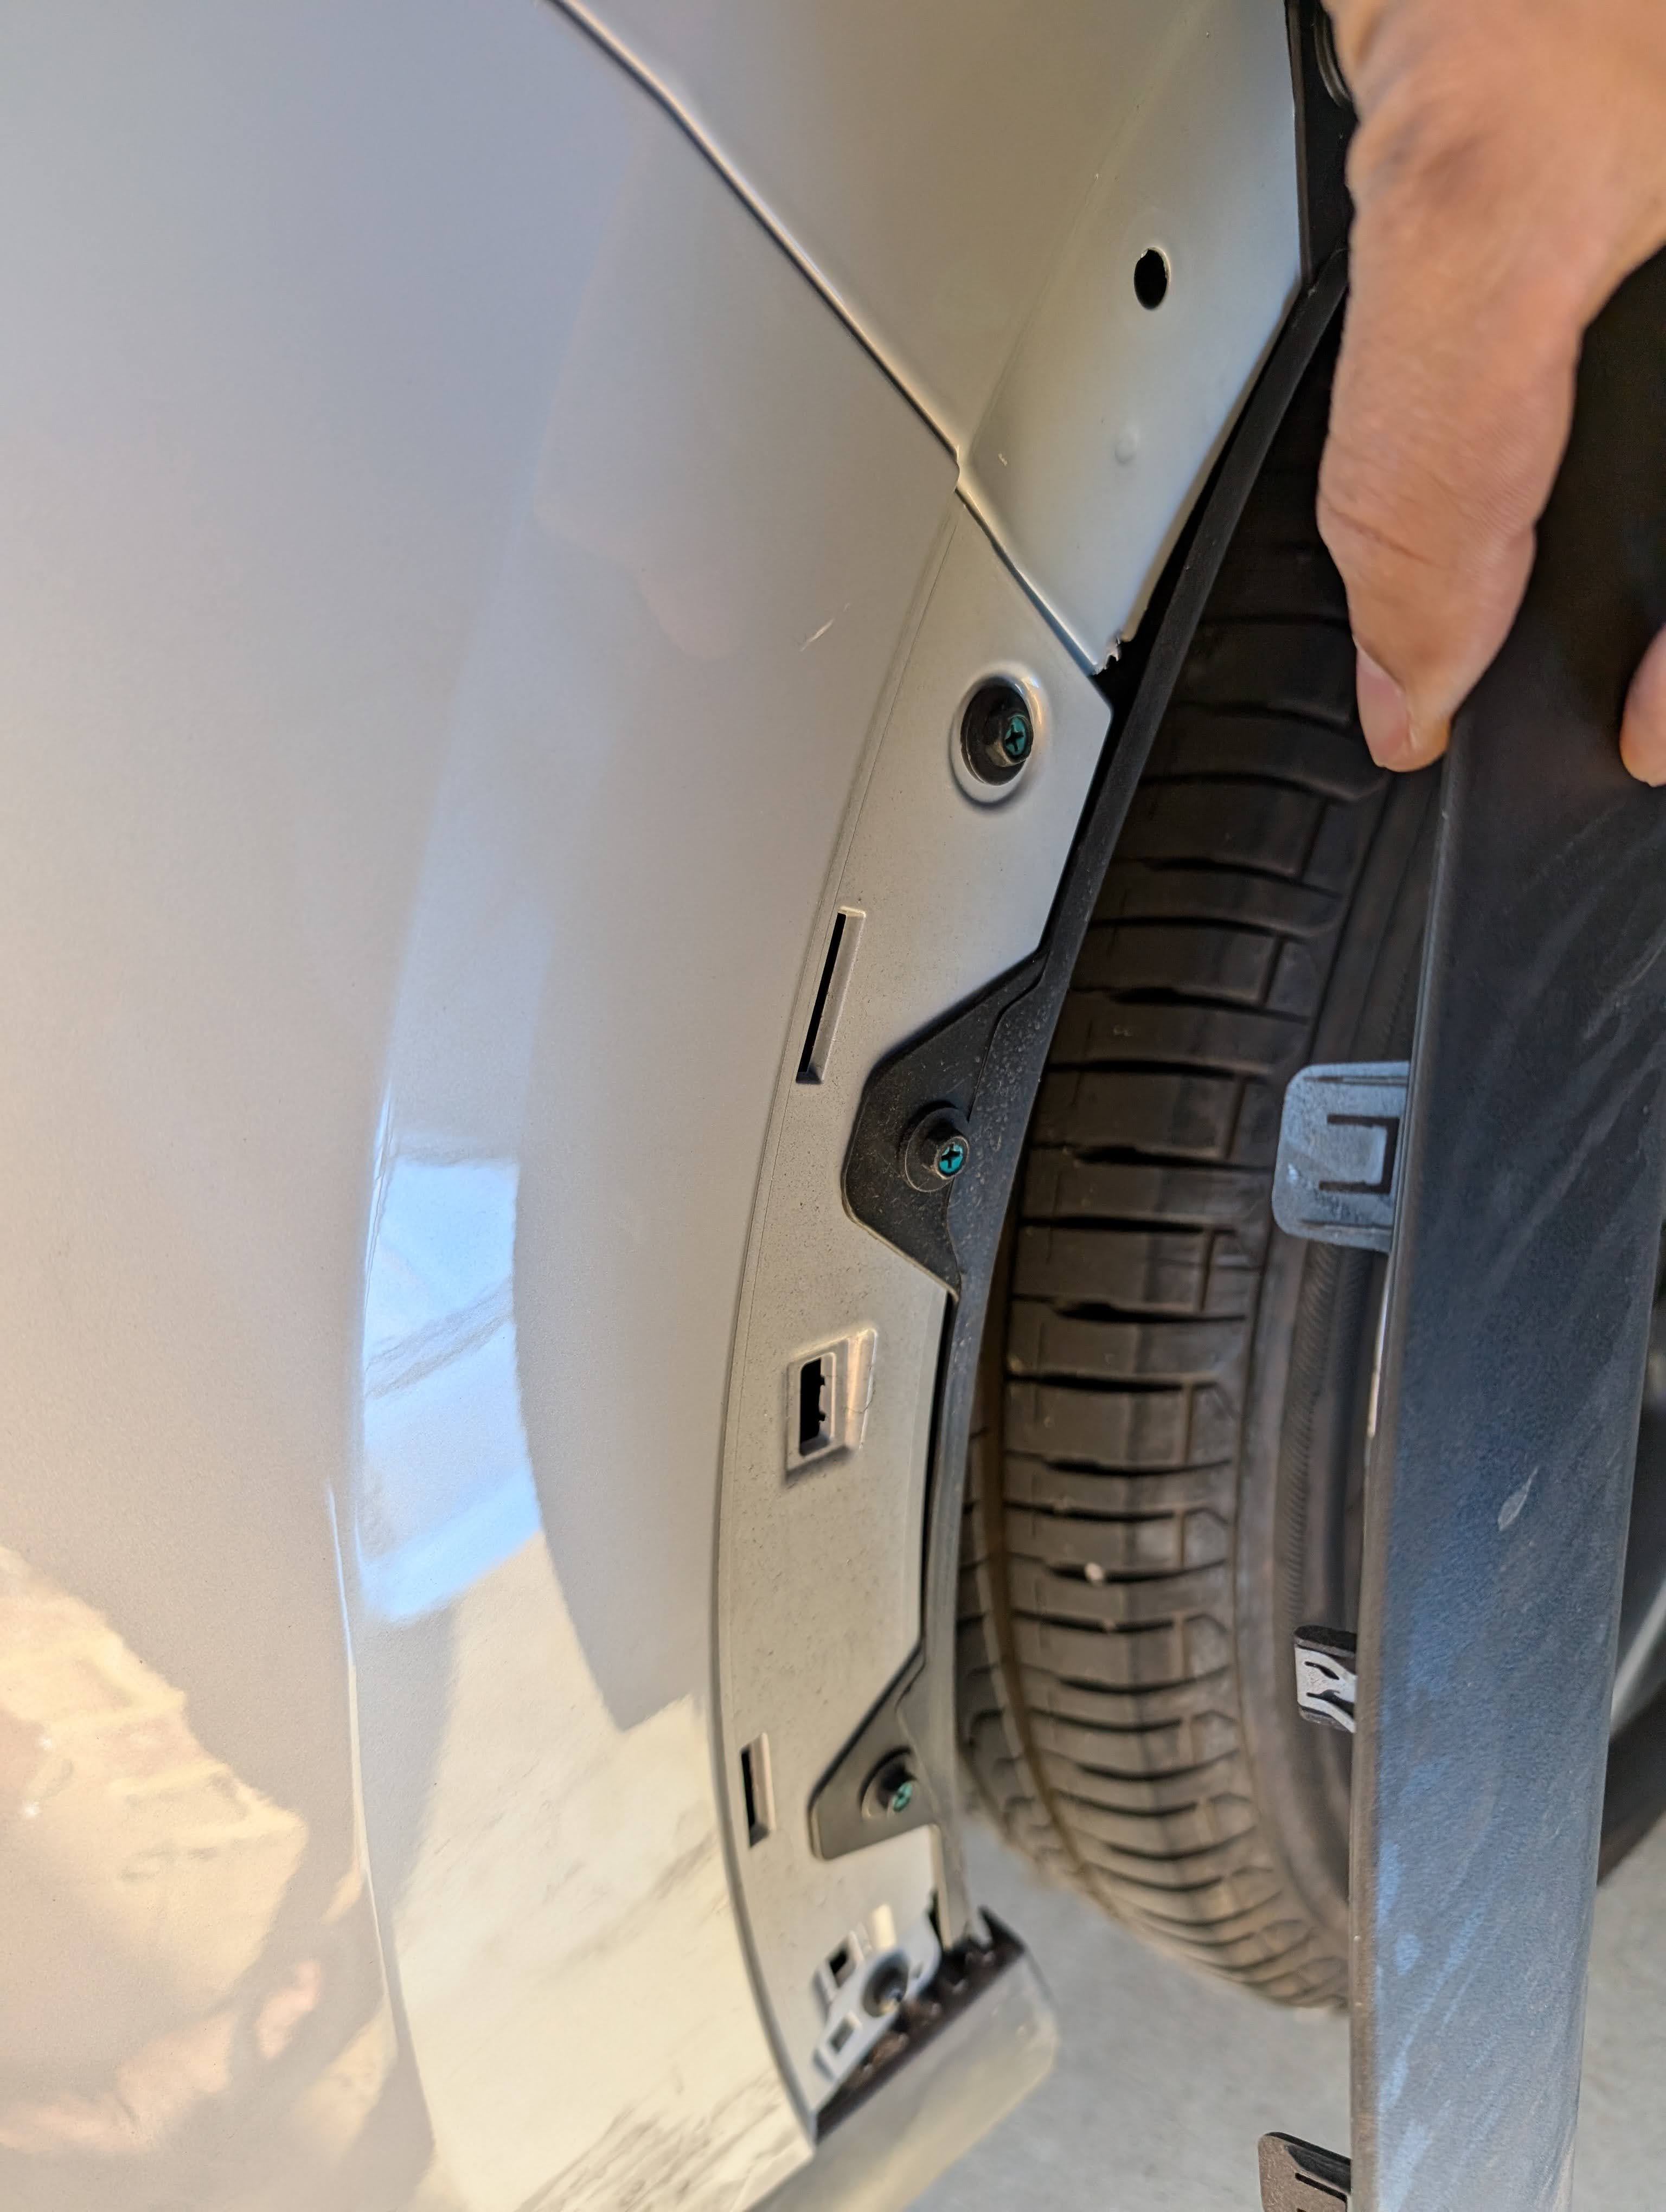
The instructions also called for a 90mm by 75mm bumper cut, which was necessary to accommodate the towbar. However, the fact that the BYD ATTO 3 bumper holding screw is not centered made the positioning of this cut more challenging. I had to be extra careful to ensure the cut was in the right location.
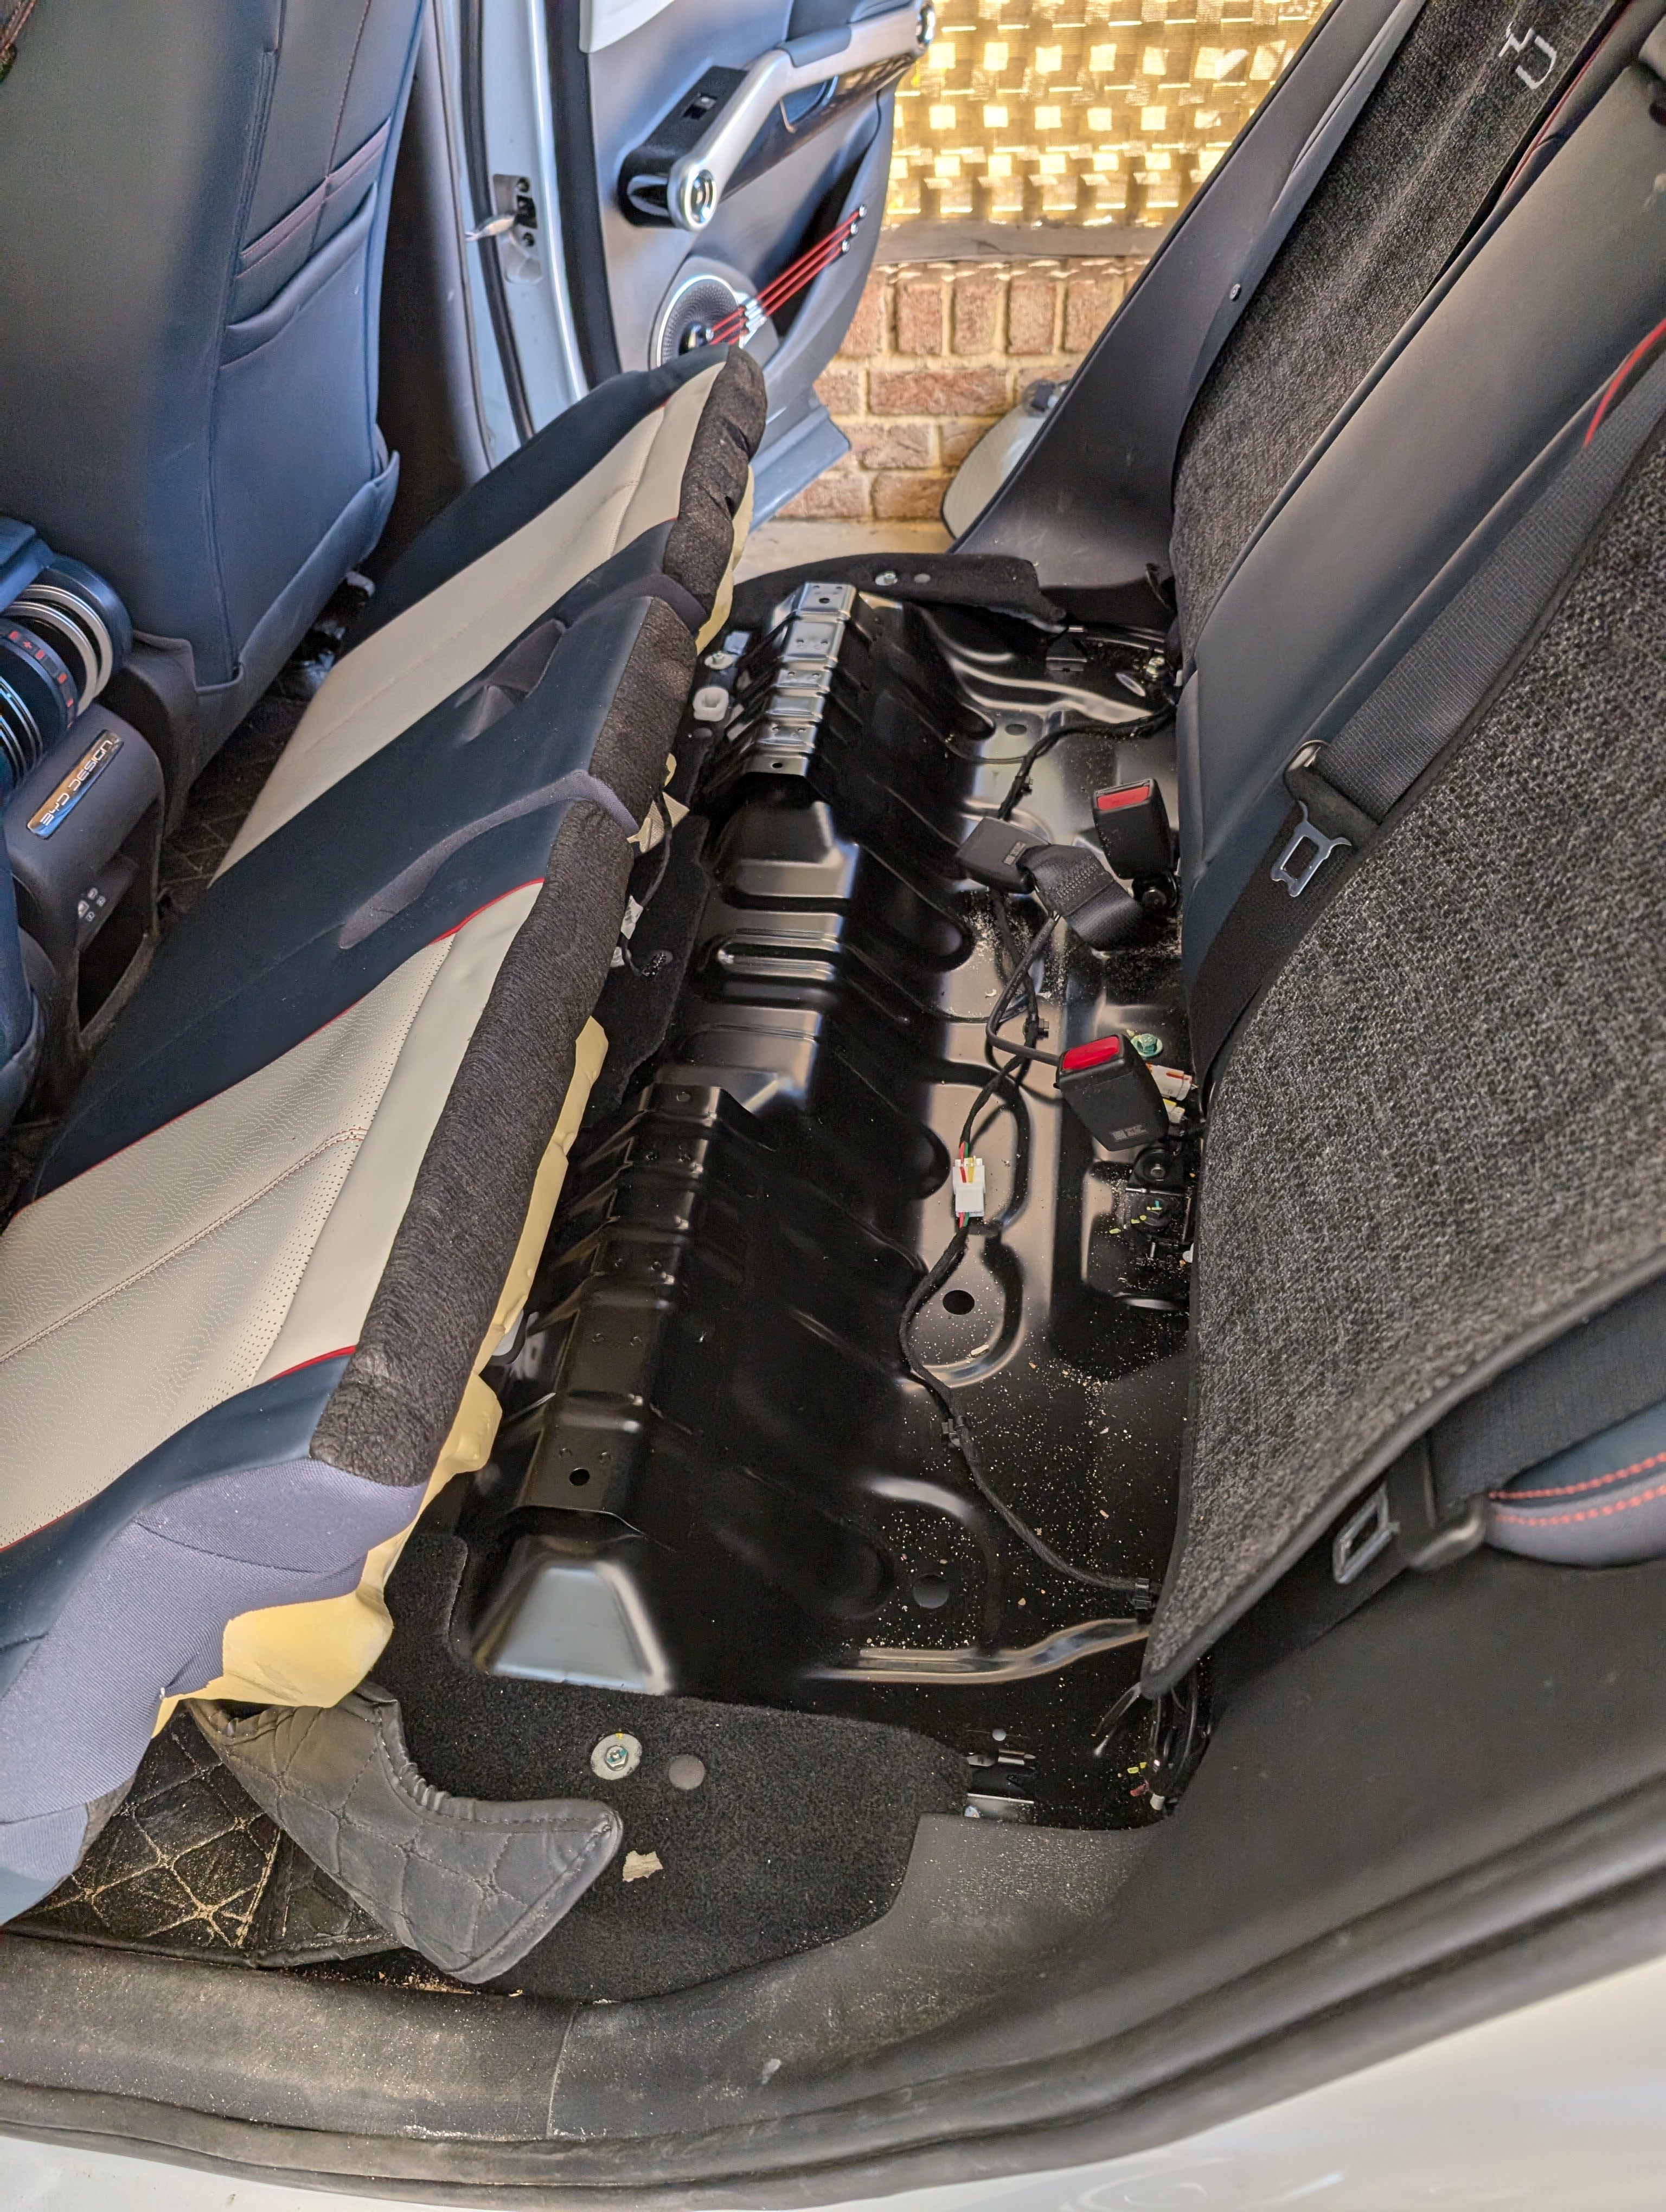
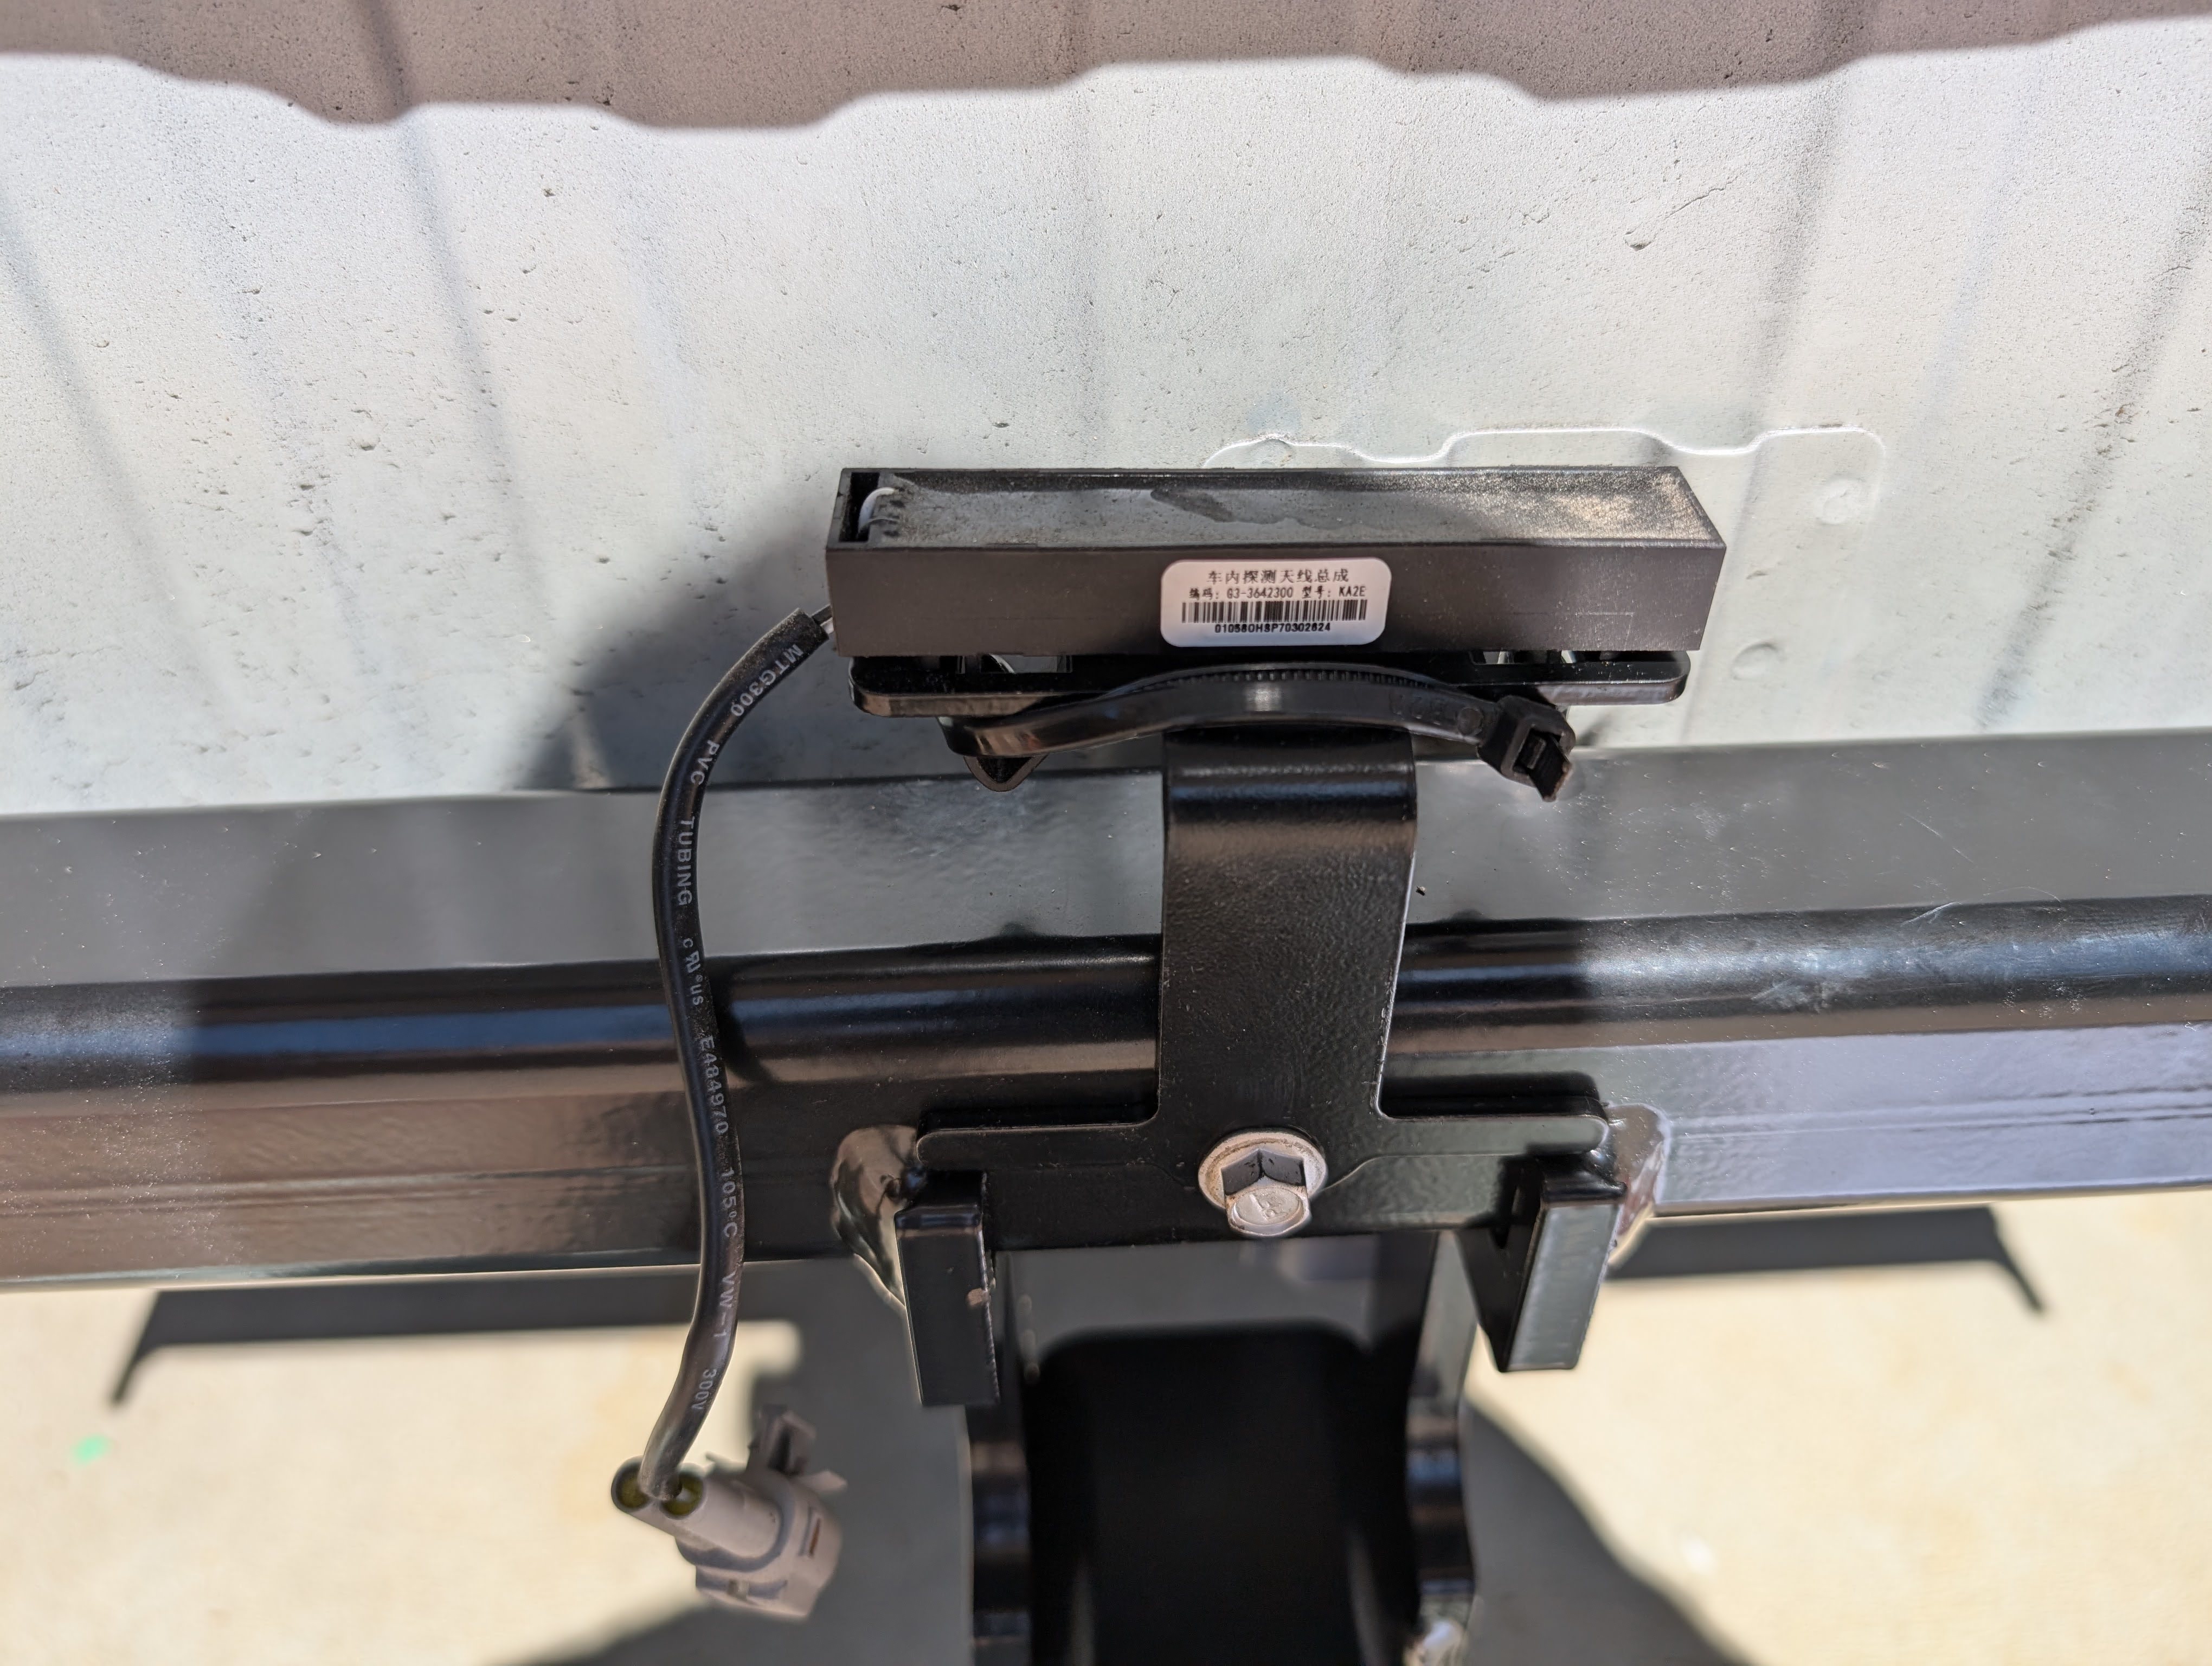
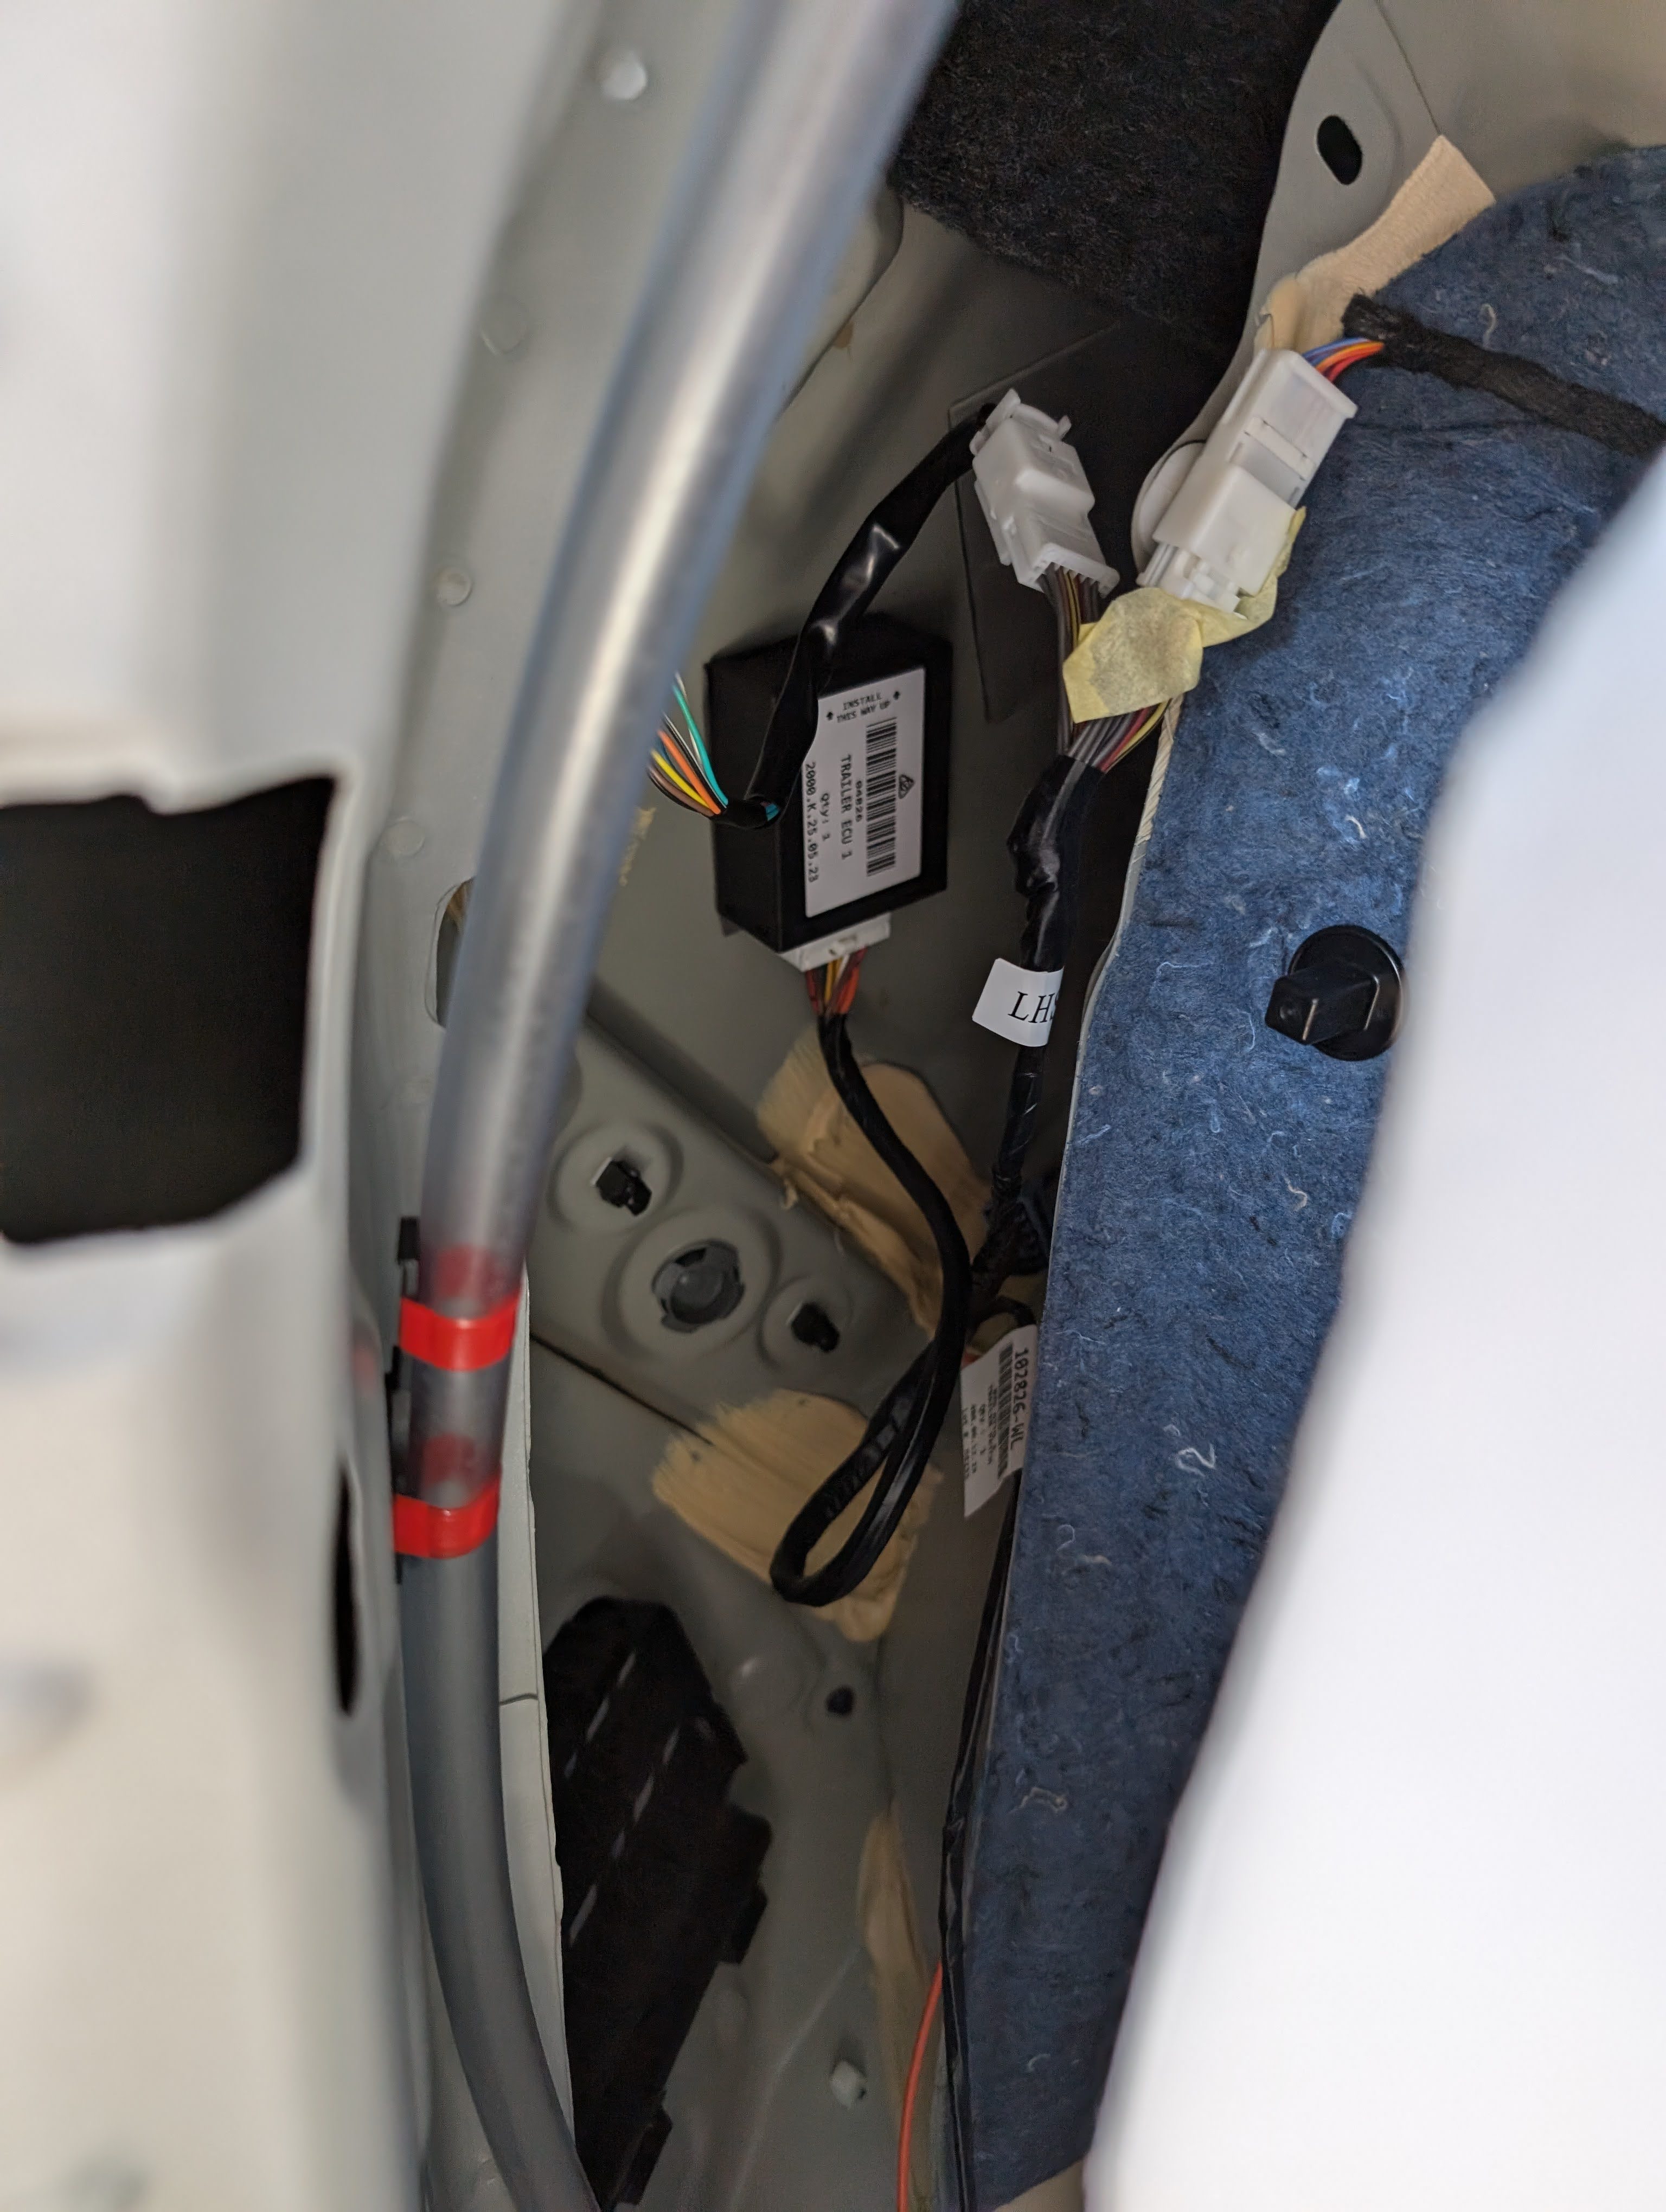
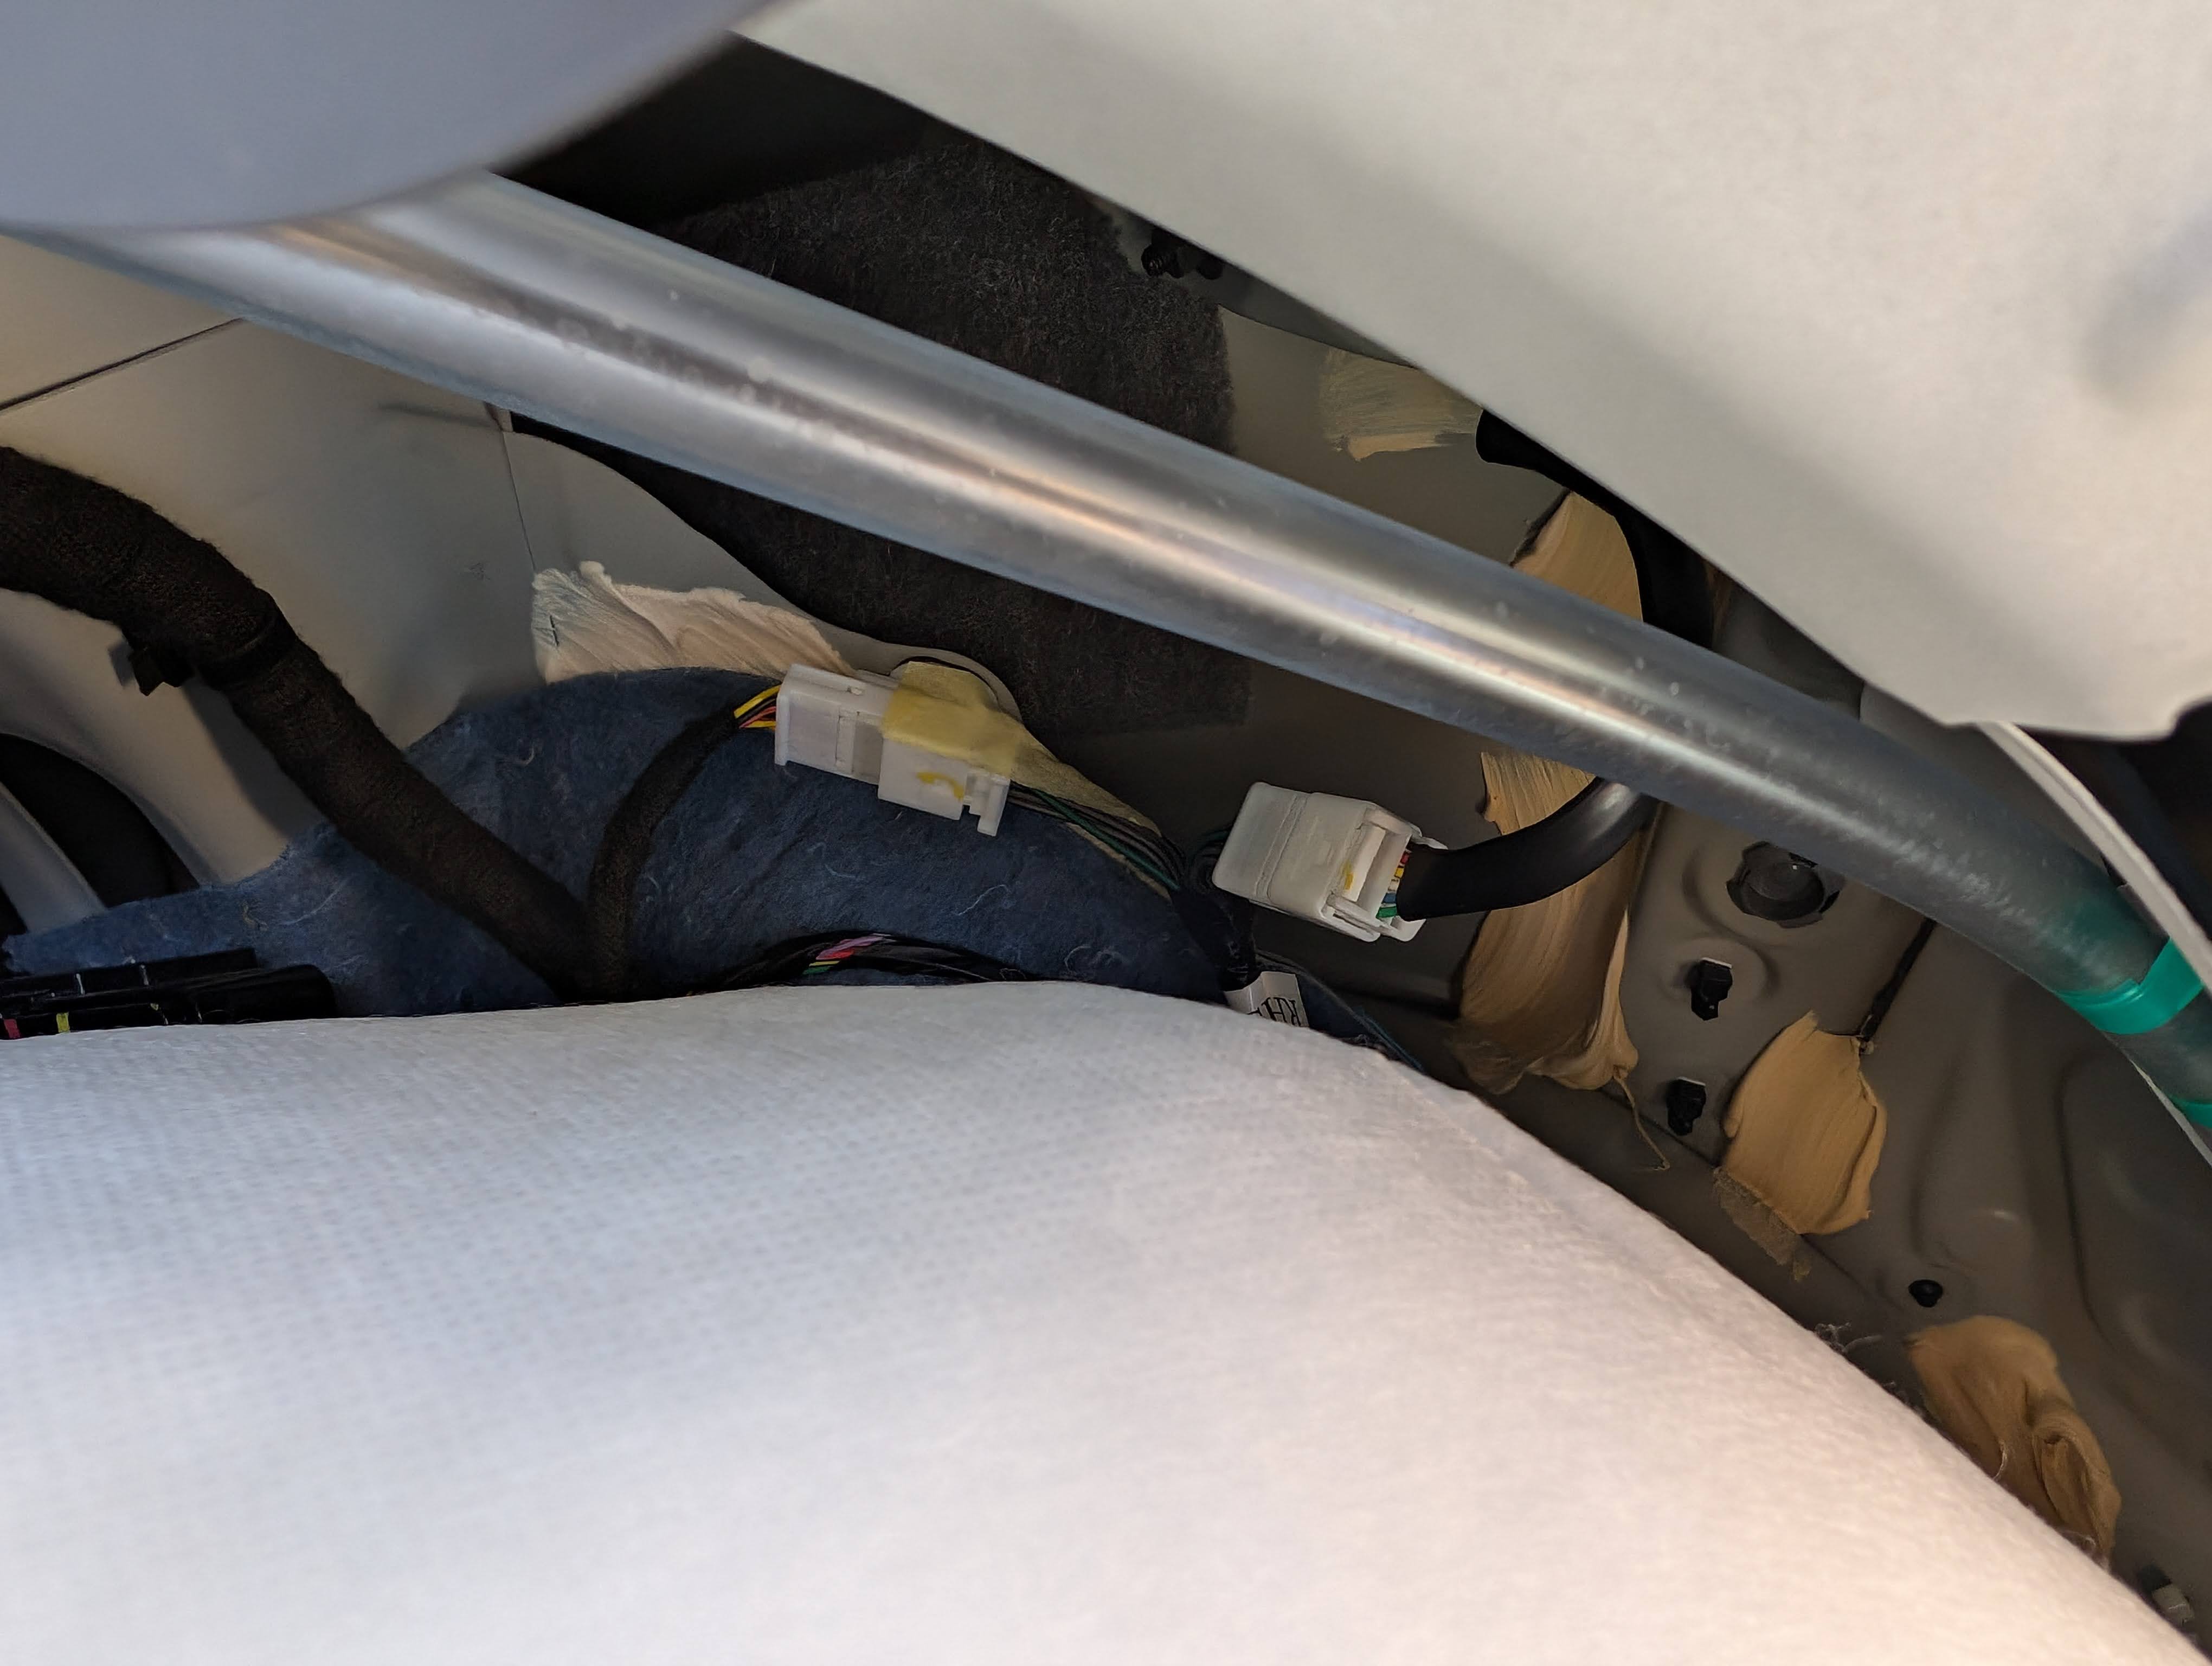
One of the more frustrating aspects of the installation was the extensive teardown required to hide the orange power wire. The instructions called for the complete removal of the passenger’s left-hand seat, which felt like overkill. I believe a more streamlined approach, where the teardown is done in a step-by-step manner, would have been more efficient and provided better insight into the overall process.
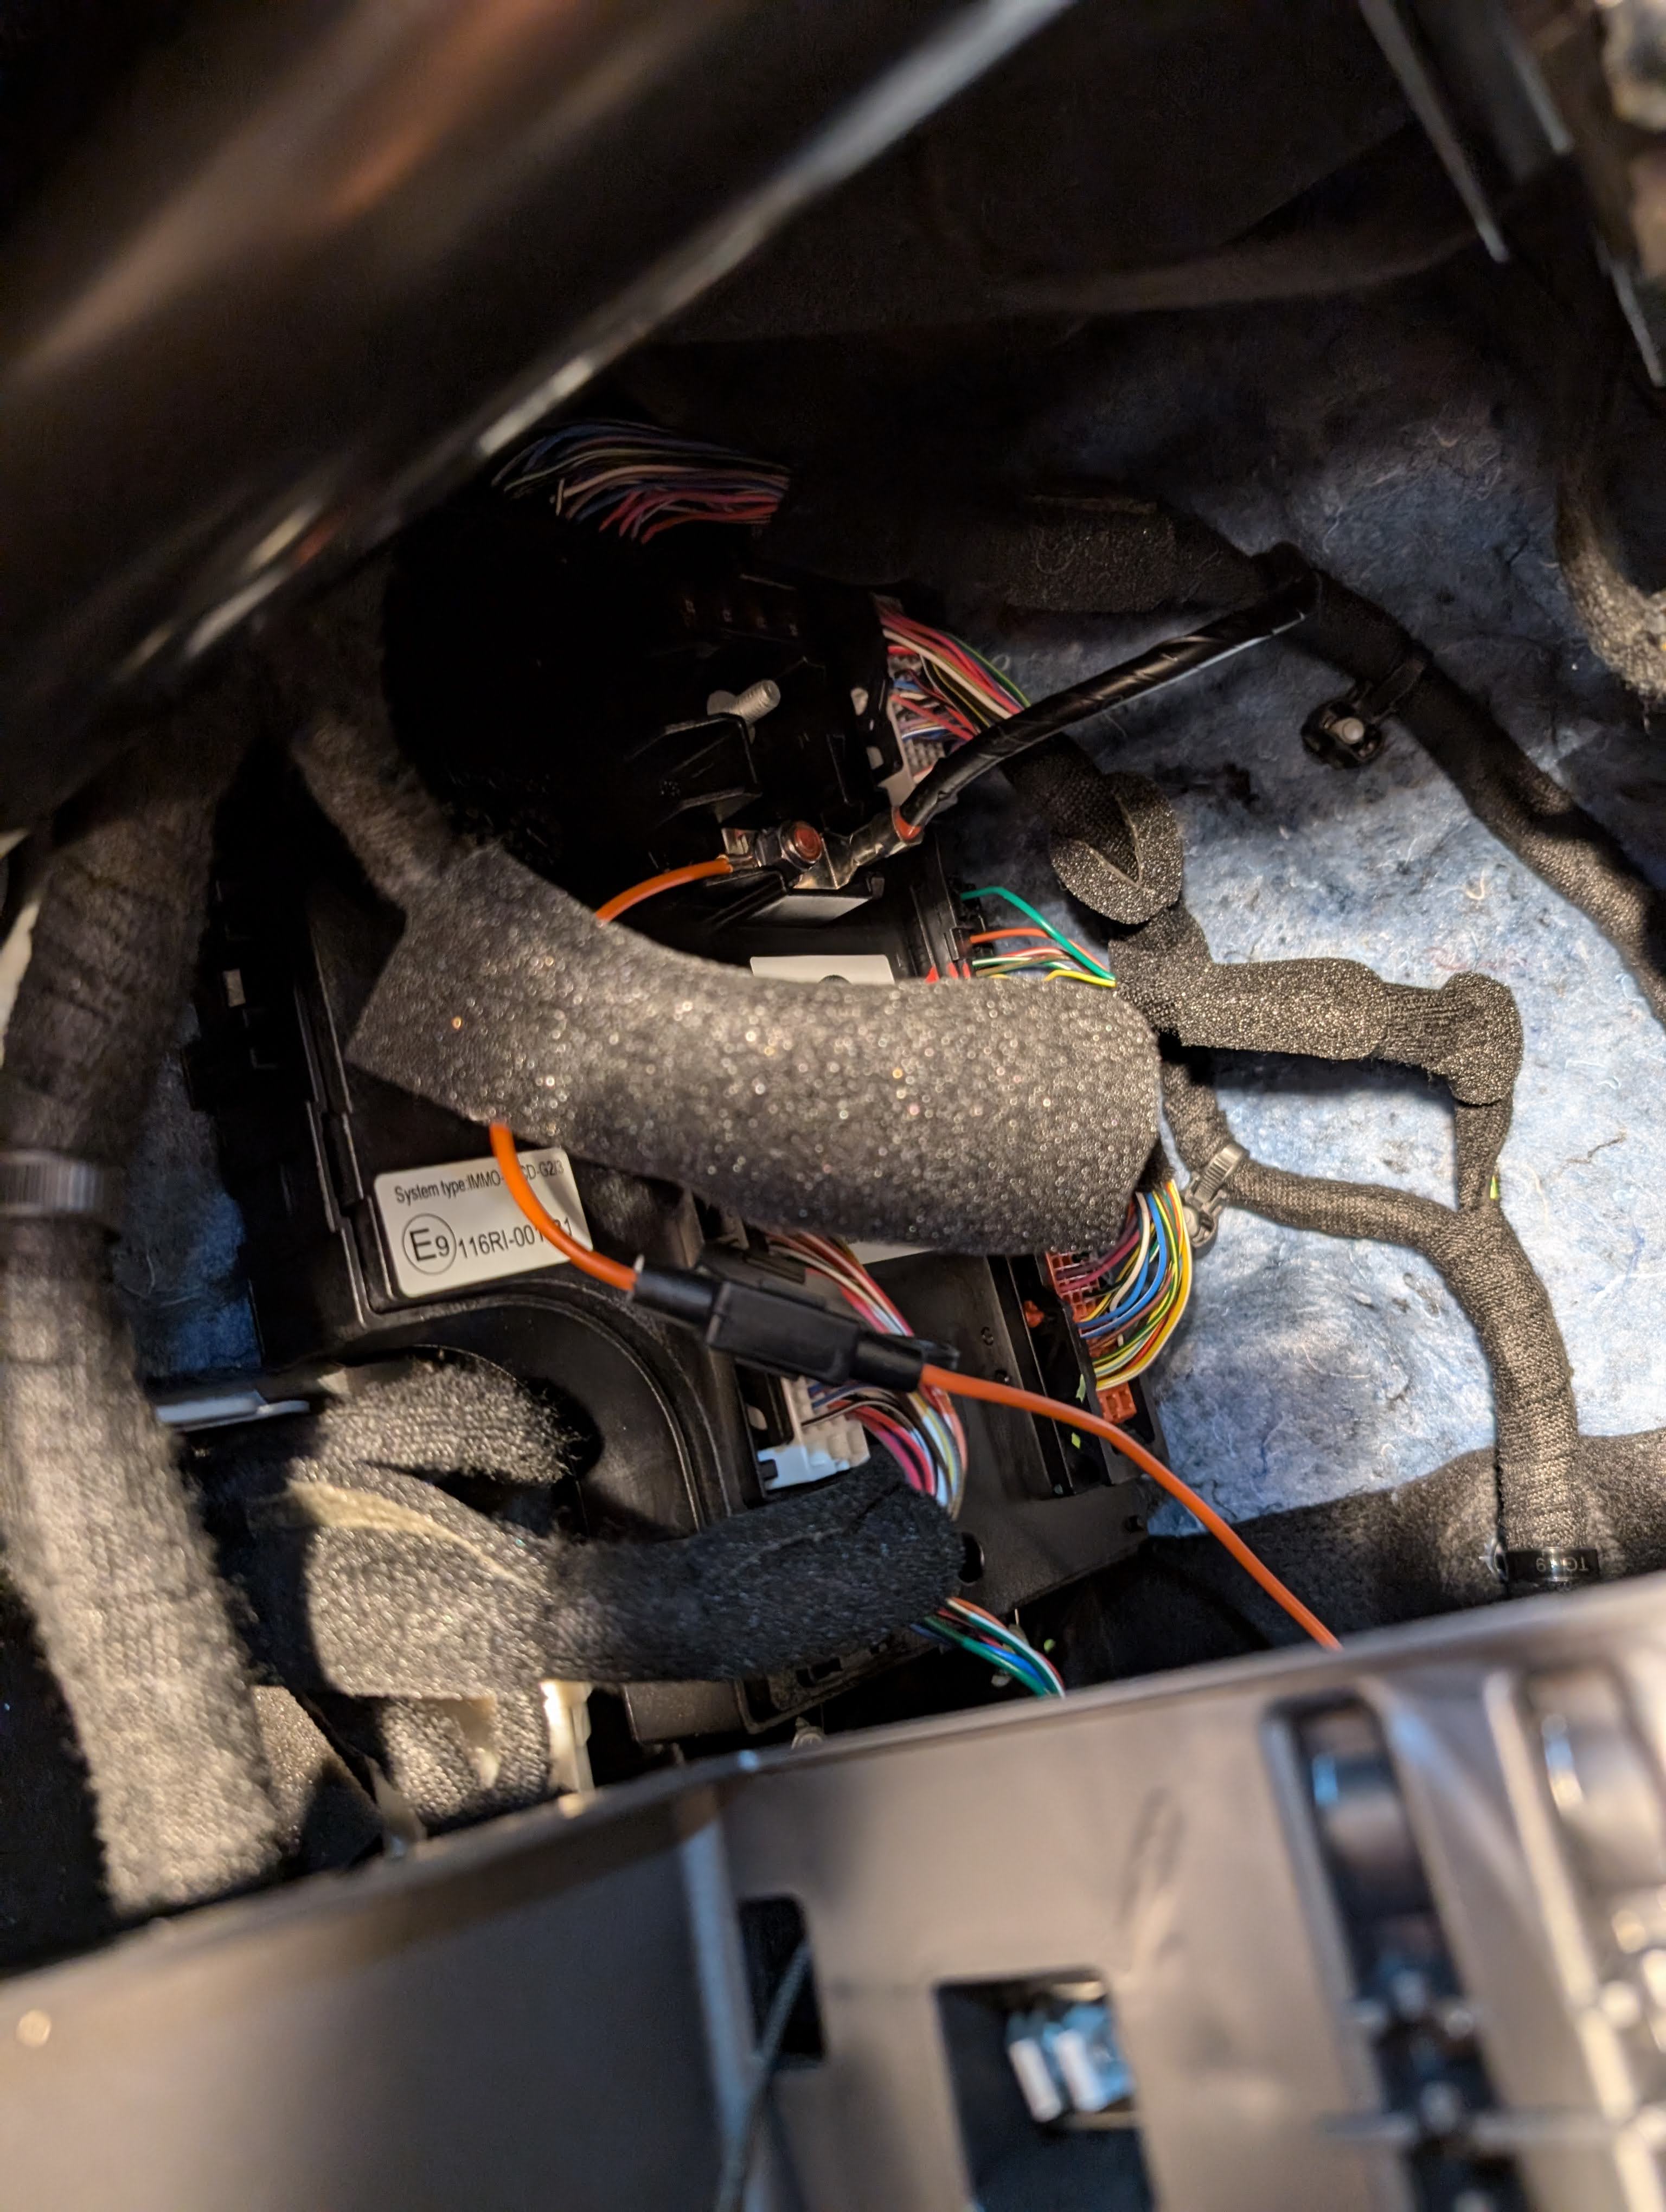
Despite these challenges, the installation was ultimately successful, and I’m pleased to report that there were no issues with the wiring. However, the total installation time of 120 minutes, as stated in the instructions, was highly optimistic. In my experience, it took significantly longer to complete the task.
In conclusion, while the Trailboss Towbar installation for the BYD ATTO 3 CL4 was successful, the process could have been improved with clearer instructions, more visual aids, and a more streamlined approach to the teardown and wiring. If you’re considering this installation, be prepared to invest more time and effort than the instructions suggest, and don’t hesitate to seek additional support if needed.
Leave a Reply